The Daytona: October 29, 2006
by Russ Knize on Oct.29, 2006, under Daytona
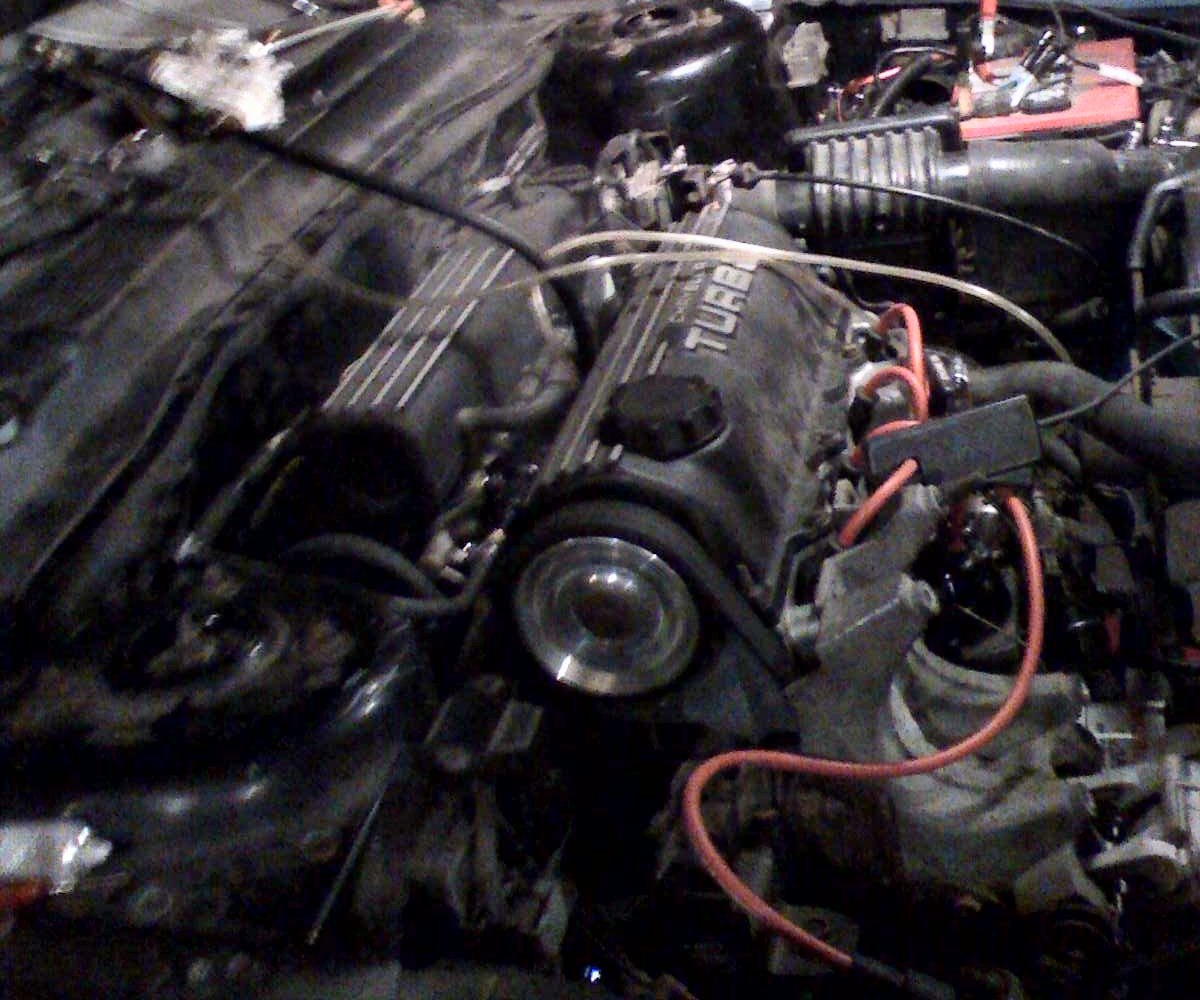 It’s alive!!! Frankentona lives again! Got the motor all hooked up tonight, pressurized the fuel system, and checked for leaks. Stared at it for a minute to make sure I didn’t forget anything really important and cranked it over. It fired right up on the first try. I was a little surprised, given the major harness surgery it underwent in the engine bay. It was smoking pretty good from all the oil and grease on the exhaust/turbo, but it didn’t really show up in the picture. Before test firing it but after putting oil in it, I primed the system with a drill on the intermediate shaft and made sure the turbo was getting oil.
All that’s left is to put the fenders and nose back on, cut down the hood vent tray, and straighten up a few things in the interior. The goal was to have it running by Halloween, but I may even have it on the road by then! Just in time too, as the CSX is starting to smoke a bit more….
The Daytona: October 27, 2006
by Russ Knize on Oct.27, 2006, under Daytona
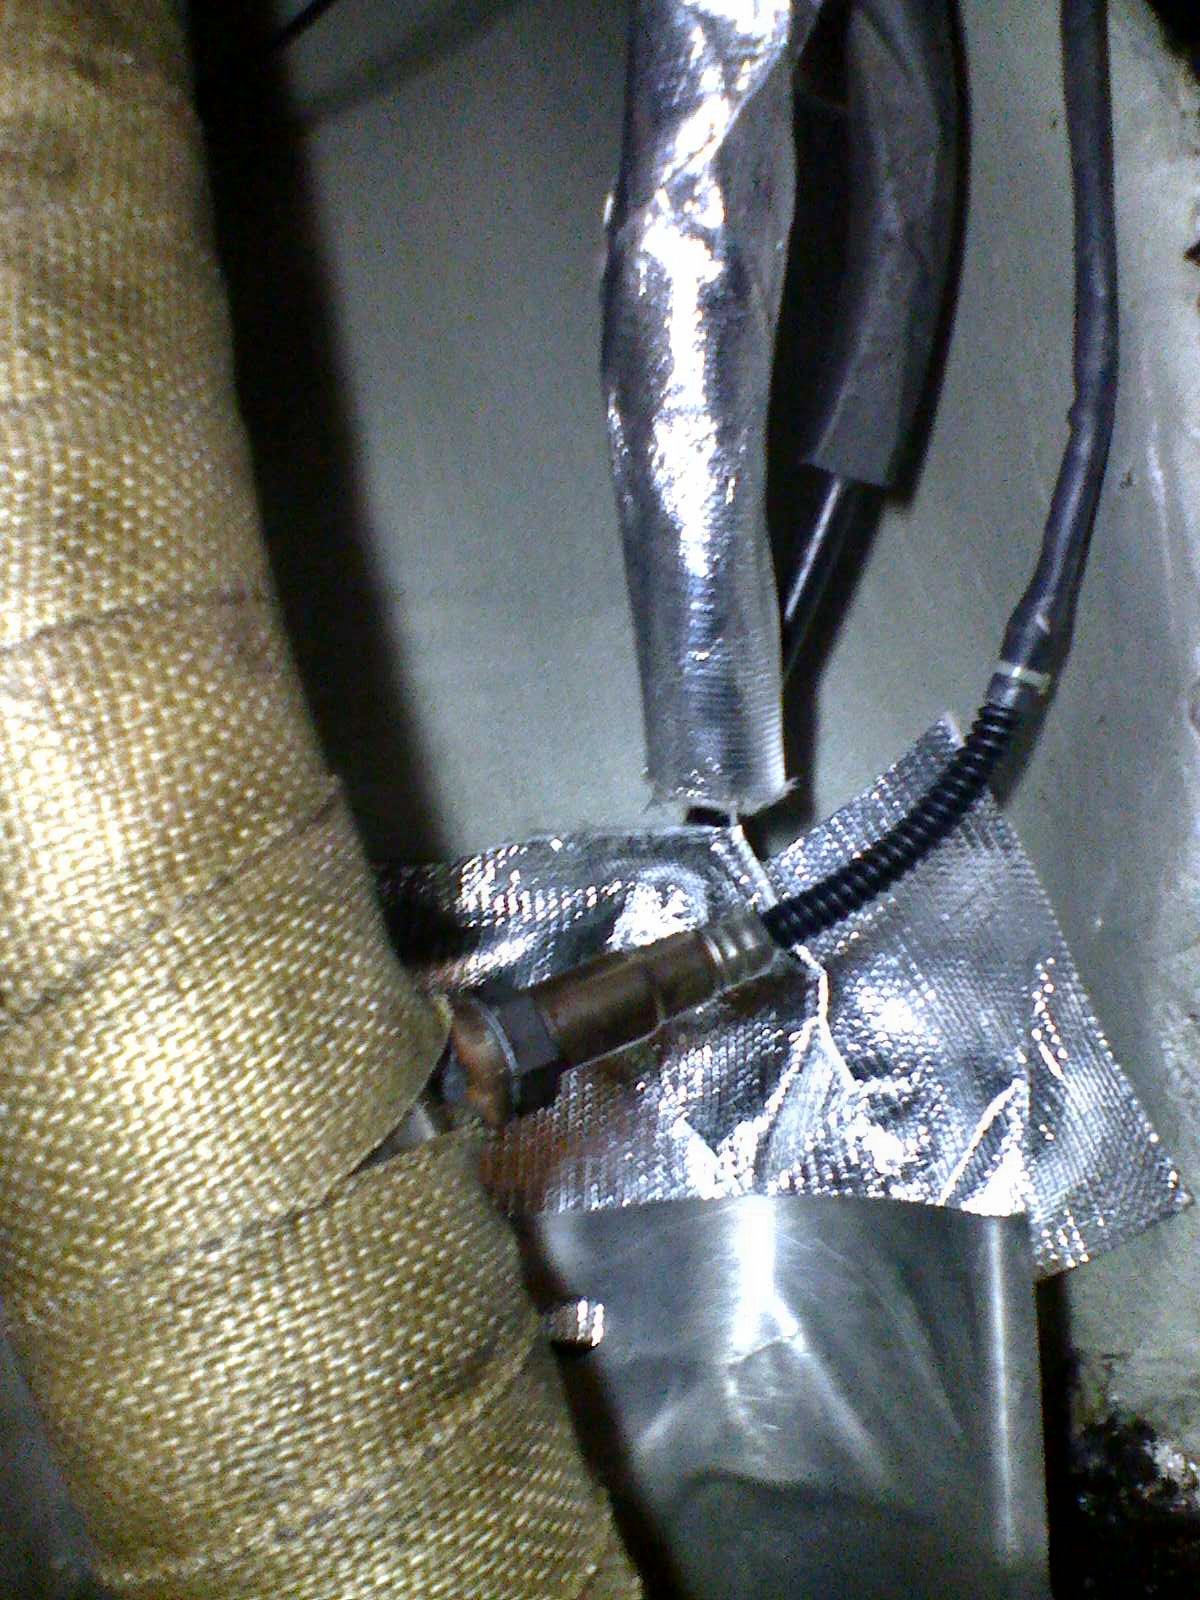
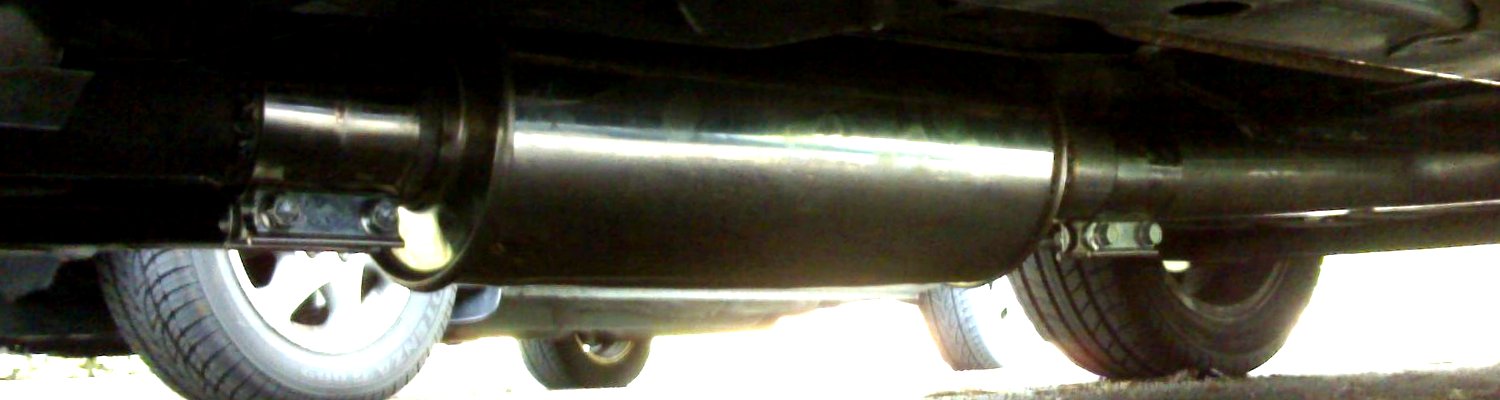
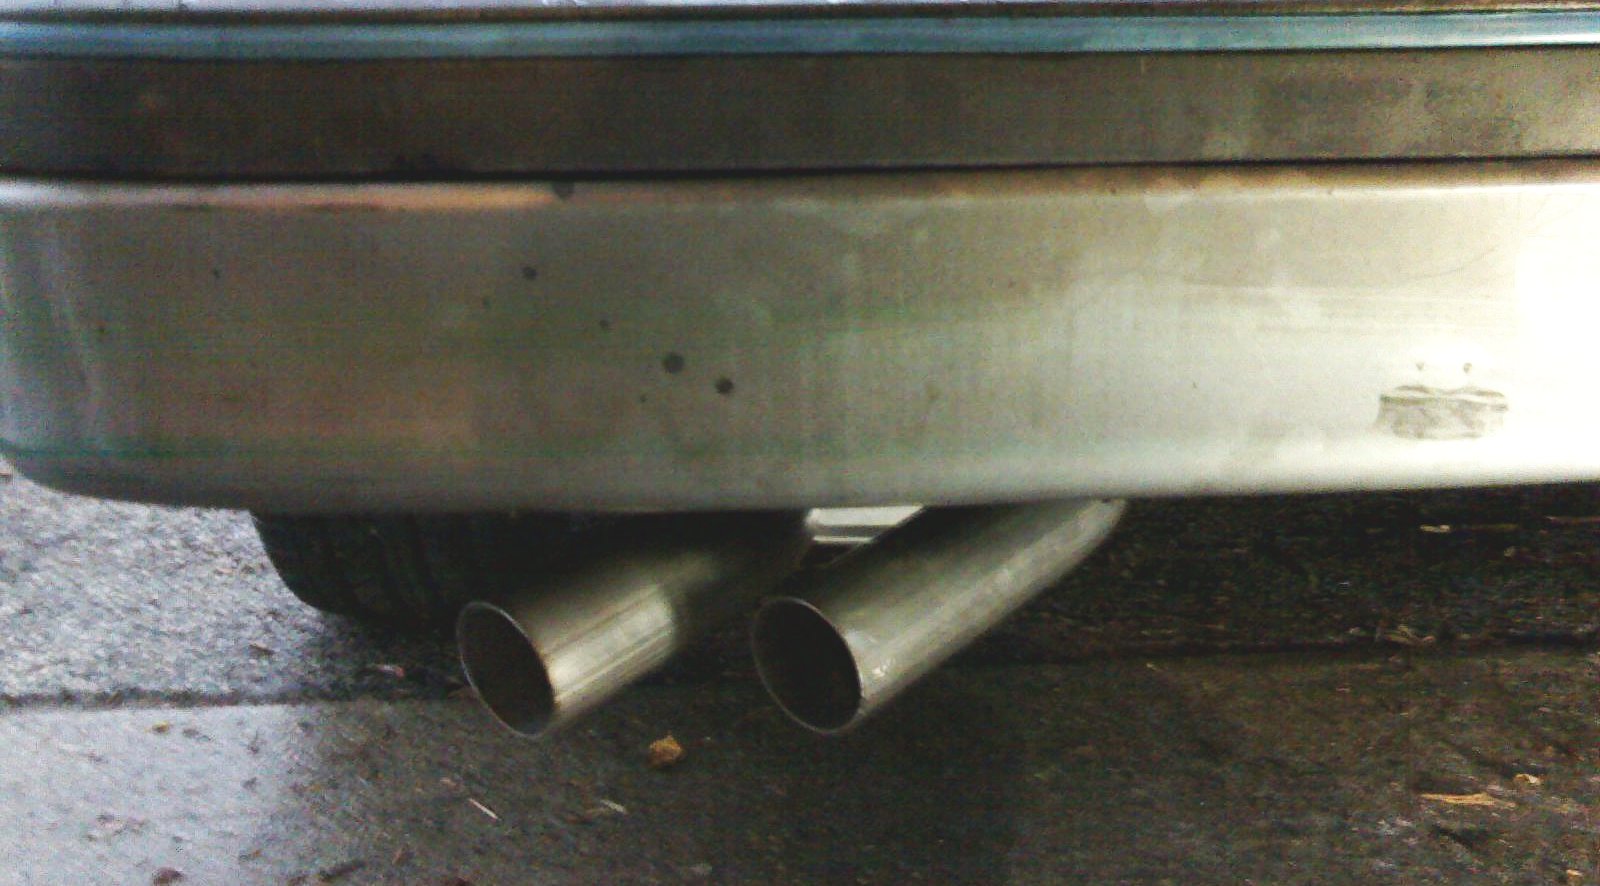
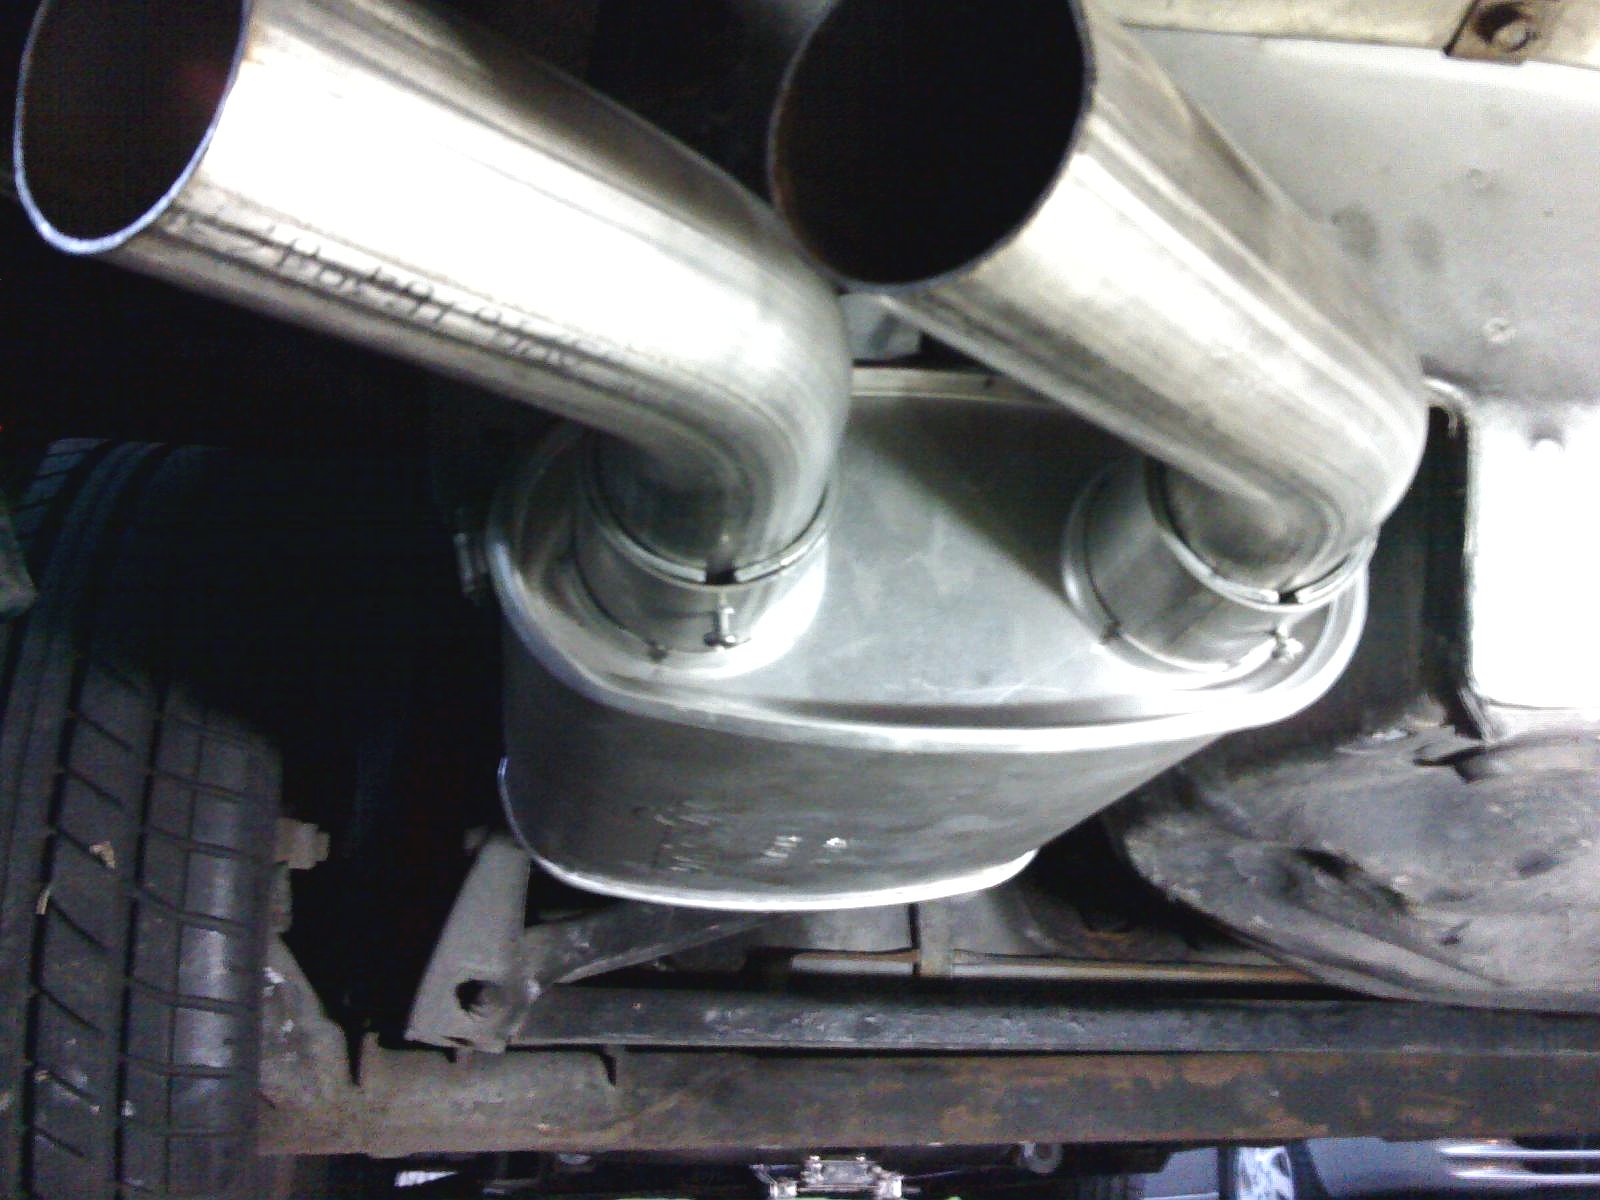
It’s been a rough couple of weeks at work (70-80 hours), but I managed to get some garage time in. The exhaust installation is complete. It came out pretty good, but I had the usual surprises. The FWD Performance kits really like the passenger side. The exhaust on both the Daytona and CSX had about 1/2″ too much length between the two 90 degree bends, which pushes the cat up against the heat shield from the back. I had to remove that amount from both, but I had to cut that pipe anyway to swing the back half up a bit. It’s clamped for now, but I will weld it once I’m happy with how the exhaust has settled in its hangers. Add to that the 3″ down pipe, which doesn’t have enough length before the last curve and the cat ends up rubbing the heat shield. Some heat shield massaging was needed to clear it. The missing down pipe heat shield required that I wrap the down pipe in header wrap and shield the shifter cables a bit. The offset oval muffler simplified the cutting/fitting behind the muffler, since I could use the offset to drop the tail pipe. That part worked out well.
I’m not really happy with the Walker stainless band clamps. They are nicely made and have captive nuts (which will be interesting once they are nice and rusty), but they don’t seal really well due to the way they pull up on the band where it is welded to itself. The cheaper clamps that are on the CSX (Jegs/J.C. Whitney) seal better and I like how they “take-up” the band slack in the dished grooves.

The Daytona: October 15, 2006
by Russ Knize on Oct.15, 2006, under Daytona
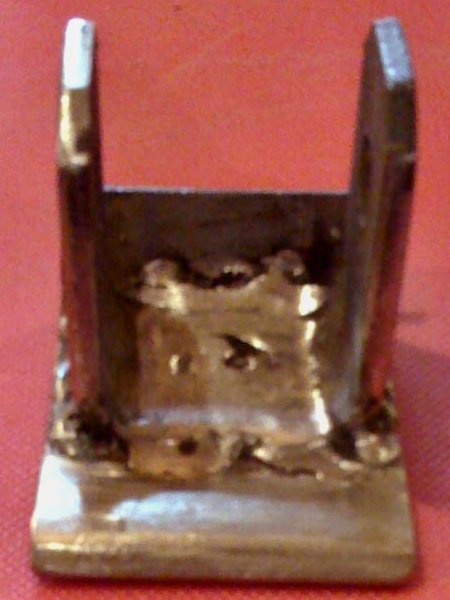
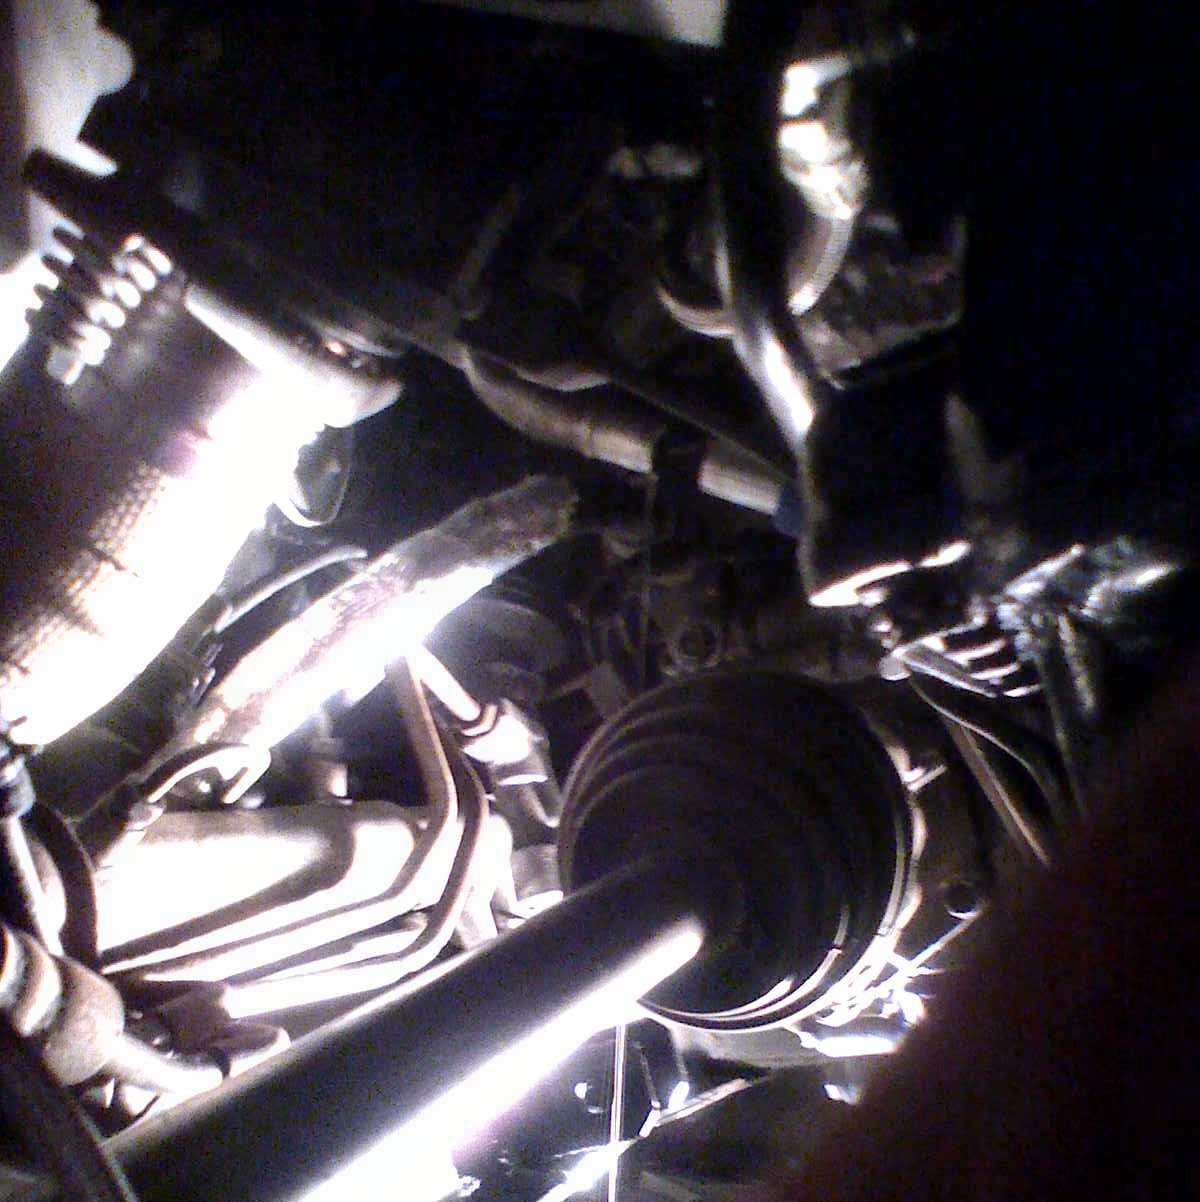
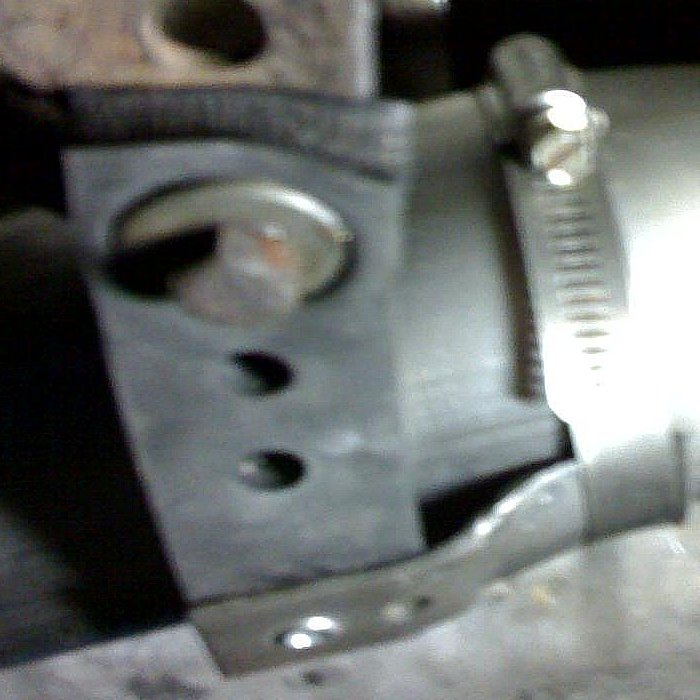
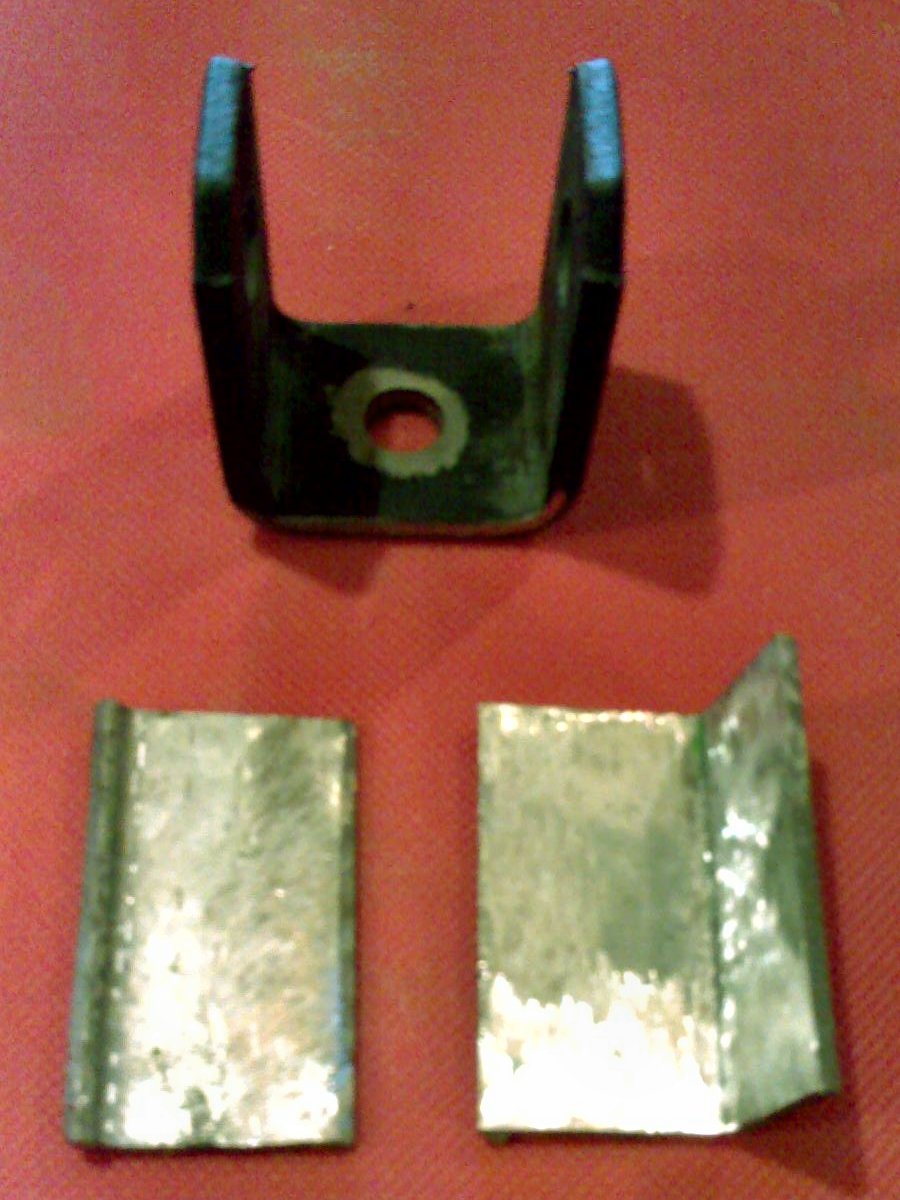 Stupid skin infection came back again…grrr. Really slows me down, but I did get the bobble strut mount from Johnny welded to a backplate and welded to the K-frame. Man, I suck at stick welding. At least with the MIG, the tool helps mask my poor skills. Anyway the mount that Johnny sells is very solid. However, it is being welded to stamped sheetmetal on the K-frame and the contact patch is only about one square inch. As such, a transitional plate is needed to spread the load over a wider area on the K-frame to prevent cracking. I made mine out of a couple of scraps of 1.5″ angle iron that was cut, bent, hammered, etc until it matched the profile of the K-frame.
I also got the exhaust cut and fitted. Had to make the same basic changes to the back half as I did on the CSX. Also, getting the nut on the driver’s side down pipe bolt is problematic when using the TU 3″ swingvalve with the .63 A/R exhaust housing. More on that when it is done.
The Daytona: October 9, 2006
by Russ Knize on Oct.09, 2006, under Daytona
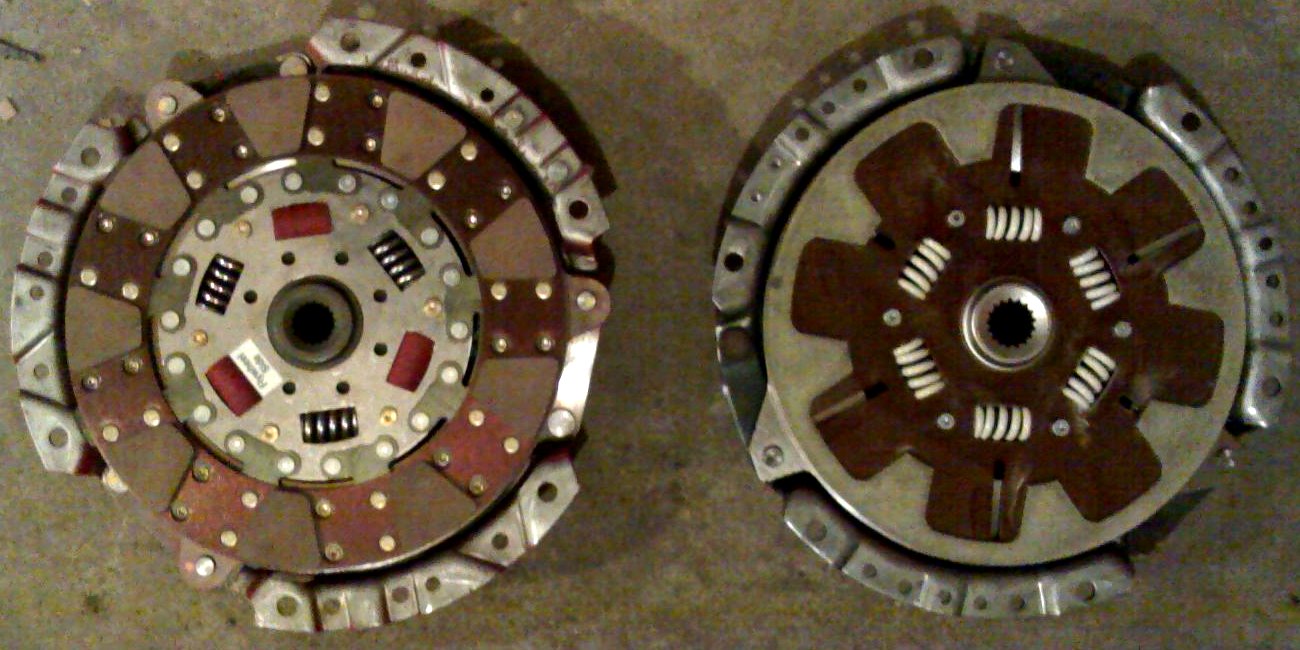
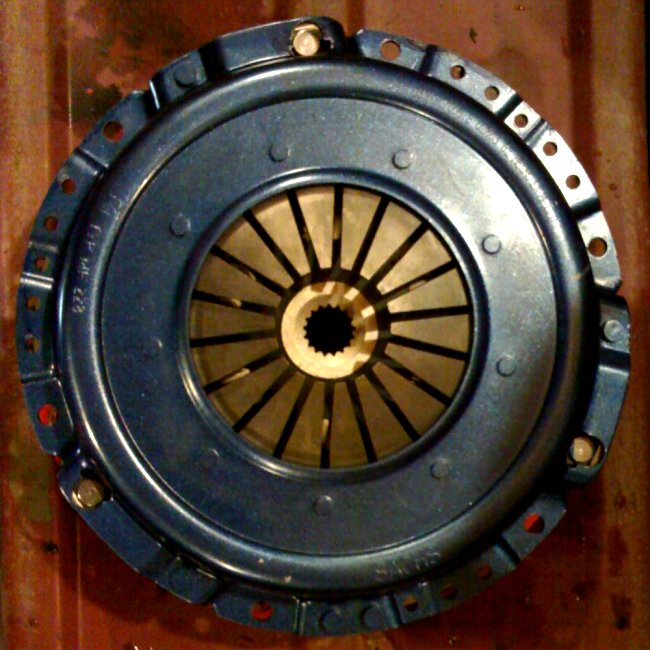
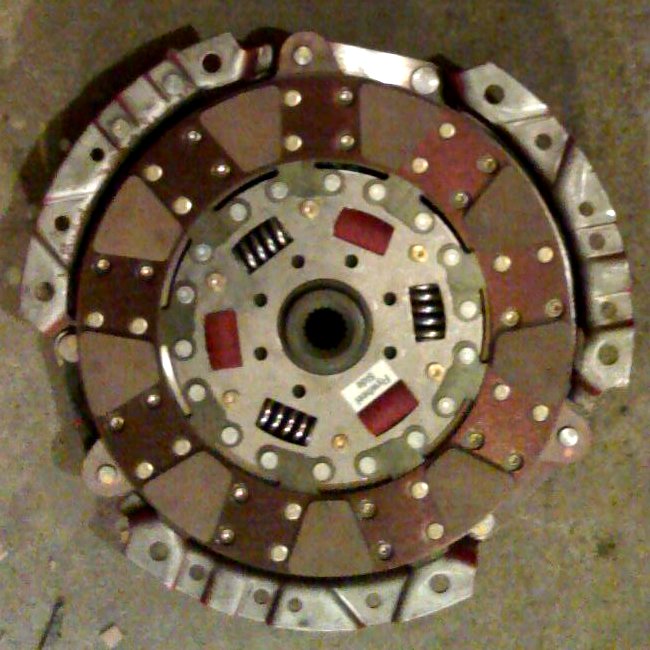
Got the clutch and did the swap. Also got the intercooler perminently installed after painting the core support. The TU ceramic/organic clutch (left) is headed to the CSX. The Kevlar clutch (right) is installed, along with its sparkly blue painted Sachs pressure plate.
The CSX: October 9, 2006
by Russ Knize on Oct.09, 2006, under CSX
 Turns out that I didn’t tighten the distributer enough. The front engine harness is tied to the corner and it slowly pulled more and more retard until it was way off the scale and ran like crap. I also experimented with some different cam settings. It’s currently set to 2 degrees retarded on the 88 TBI cam. It’s a little soggy on the bottom end, but pulls pretty good to the redline. It’s just a matter of switching my driving habits a bit.
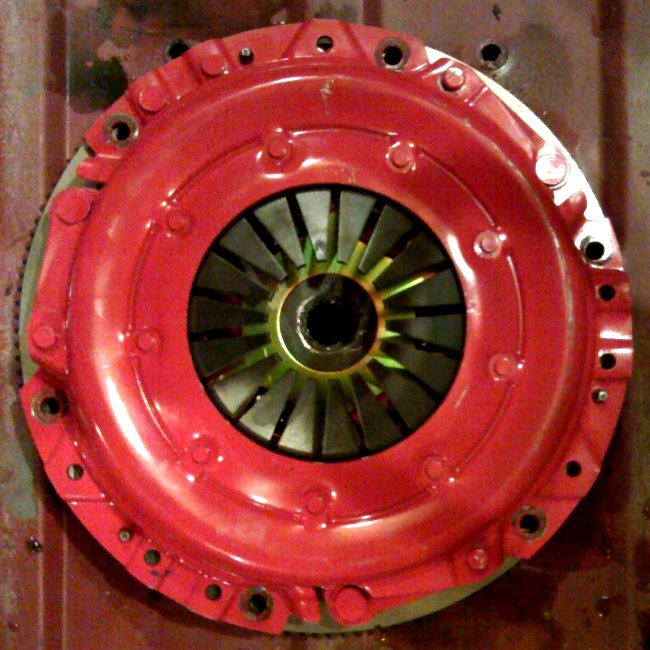
The kevlar clutch for the Daytona arrived, which is now swapped and the pressure plate (LUK unit painted red) for the TU ceramic/organic is now freed up and standing by for the CSX. At some point after the Daytona is done, I am going to have to swap the clutch and the turbo.
The Daytona: October 3, 2006
by Russ Knize on Oct.03, 2006, under Daytona
A nasty skin infection has kept me out of the garage for a couple of weeks, but I did manage to paint all of the welded areas on the core support and the new intercooler-related bracketry. I also welded lips onto the intercooler pipes by carefully tacking 1/16″ stainless steel rings make from rod stock onto the edges. My initial plan was to roll beads into them with a Harbor Freight bead roller that I got on sale. Well the rollers were too large to fit into the tubes, so that didn’t work. I was going to try to have different rollers made, but it wasn’t worth the effort.
The issue I was having at the track with the clutch in the CSX was a good reality check that this LUK T3 clutch isn’t going to hold. I had purchased a TU “Dual Performance” ceramic/organic clutch for this powertrain, however I found that I accidentally ordered the early small spline version (the small shaft has 18 splines, while the large shaft has 17 splines). I had a new T3 disc kicking around, so I just tossed that in instead. I’ve ordered a TU Kevlar clutch (appears to be a Clutchnet clutch disc) that should hold well. It has a little less holding power than the ceramic puck discs, but I should get much better mileage out of it. The 6-puck that I had in the CSX before was shot after about 30k. It sucks to have to drop the trans again, but it’s a lot easier now than it will be when it is all buttoned-up and covered in the inevitable grease.
The CSX: September 28, 2006
by Russ Knize on Sep.28, 2006, under CSX
Went to an SDAC Chicagoland drag racing event at Great Lakes Dragway in Union Grove, WI on the 26th. I was hoping to get into the 14s again and hopefully set a new record for myself, but it wasn’t to be. My best time was a 15.8 at around 92mph. With the extra traction, the T2/T3 clutch just wouldn’t hold during my launches. I tried a couple of techniques, but I smoked it BAD every time. The track was very busy, so we only got about 4 runs in. It just so happens that the TU ceramic/organic clutch that I got for the Daytona has the wrong shaft size. The plan now is to put a better, longer-lasting clutch into the Daytona and put this clutch into the CSX. I think it will be perfect for the job.
On the bright side, JT loaned me a MSD Blaster 2 ignition coil to see if it would clear up the 5000 RPM miss I was having. It did. The car pulls to the redline awesome now. In fact, I hit the rev limiter a few times because I am so used to having the missfire cue me to shift. Going to try to gap the plugs up to stock to see if the fire stays lit.
The CSX: September 19, 2006
by Russ Knize on Sep.19, 2006, under CSX
That setup was way too loud. There was a deafening drone throughout the band. The only quiet spot was between 2000 and 2500 RPM. I went ahead and replaced the test pipe in the cat’s position with the Dynomax Ultra Flo (p/n 17296). That cut the drone by about 50% overall while driving and it idles pretty quiet now. It’s louder than I’d like, but I can live with it. It’s now very quiet in that 2000-2500 range. I’m betting installing the cat instead of the Ultra Flo will make it even quieter.
I also replaced the hatch struts, finally. NAPA sells the “StrongArm” brand of struts that makes the correct one for P-bodies with a spoiler.
The CSX: September 17, 2006
by Russ Knize on Sep.17, 2006, under CSX
Well, the strut is still on there. Turns out that the strut rod nut was loose and was somehow pushing the center part of the strut mount up. Once it was tightened, everything moved back to where it should be. The strut is shot though and the other front strut isn’t fairing much better. I am going to try to warranty them. I did fix the passenger side window and both have stayed fixed for now. The car developed an annoying missfire/breakup above 3000rpm above 15psi of boost. I fiddled with a few things and finally replaced the plugs with some new AutoLite 63s, as the AutoLite 64s that were in there had about 35k on them and were really worn. That seemed to help, but it is still not as strong as it was before.
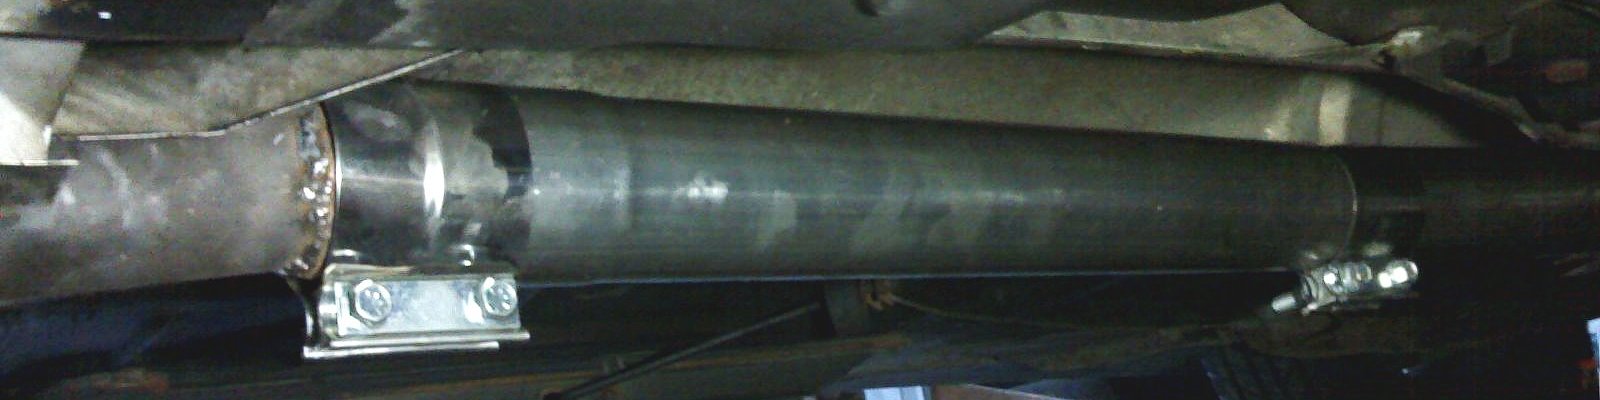
The 7-year-old exhaust, an original “Jessie Buhr” aluminized 2.5″ system with a Dynomax Super Turbo muffler, has been falling apart for about a year now. I’ve been patching it as it broke but had ordered a full 3″ stainless system from FWD Performance in the meantime. Finally the twice-patched muffler simply disintegrated last week, so I decided to install the new system this weekend.

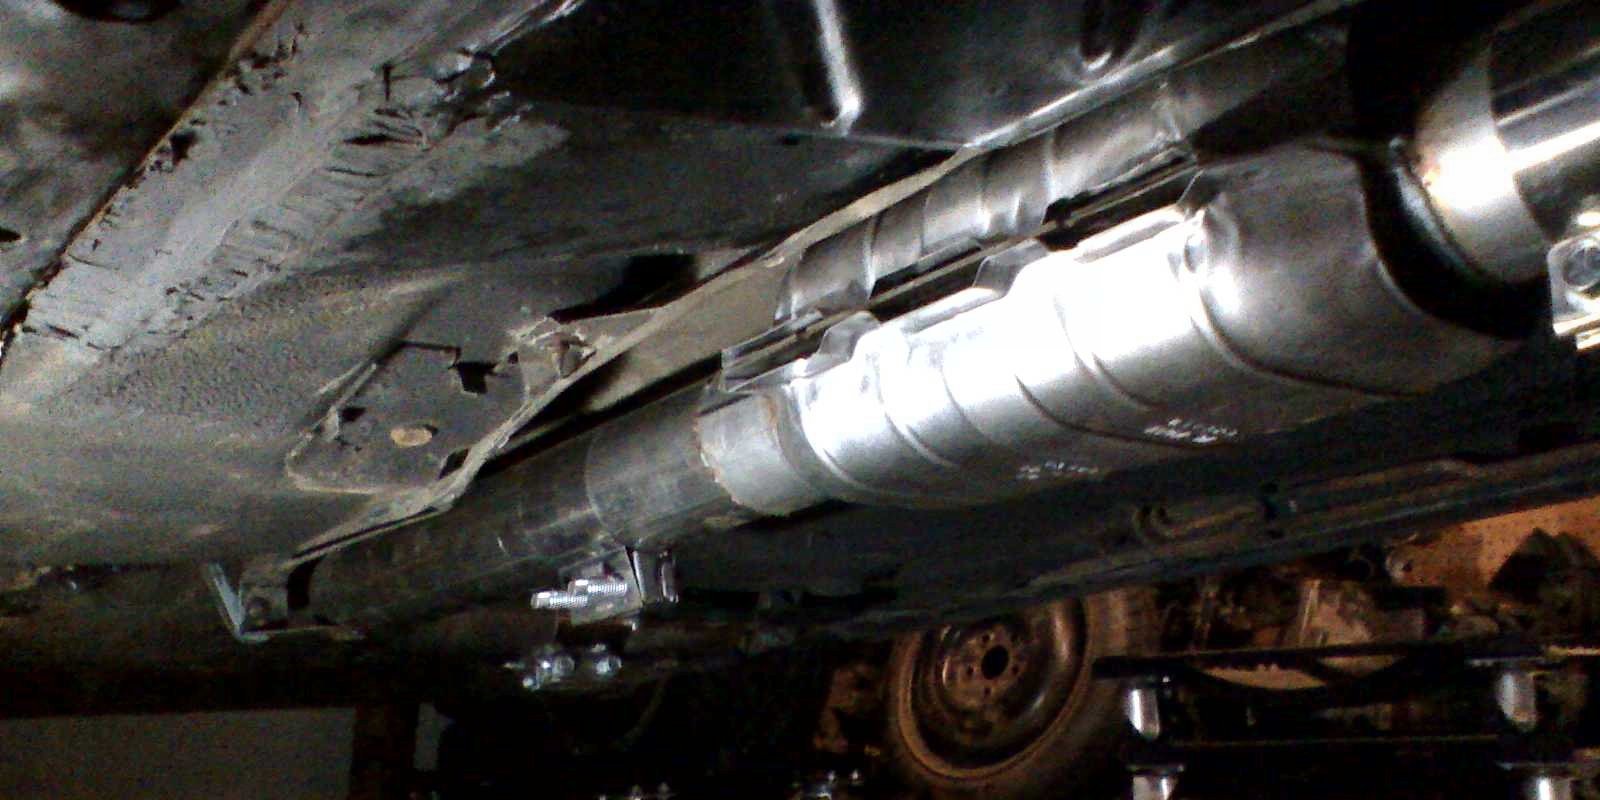
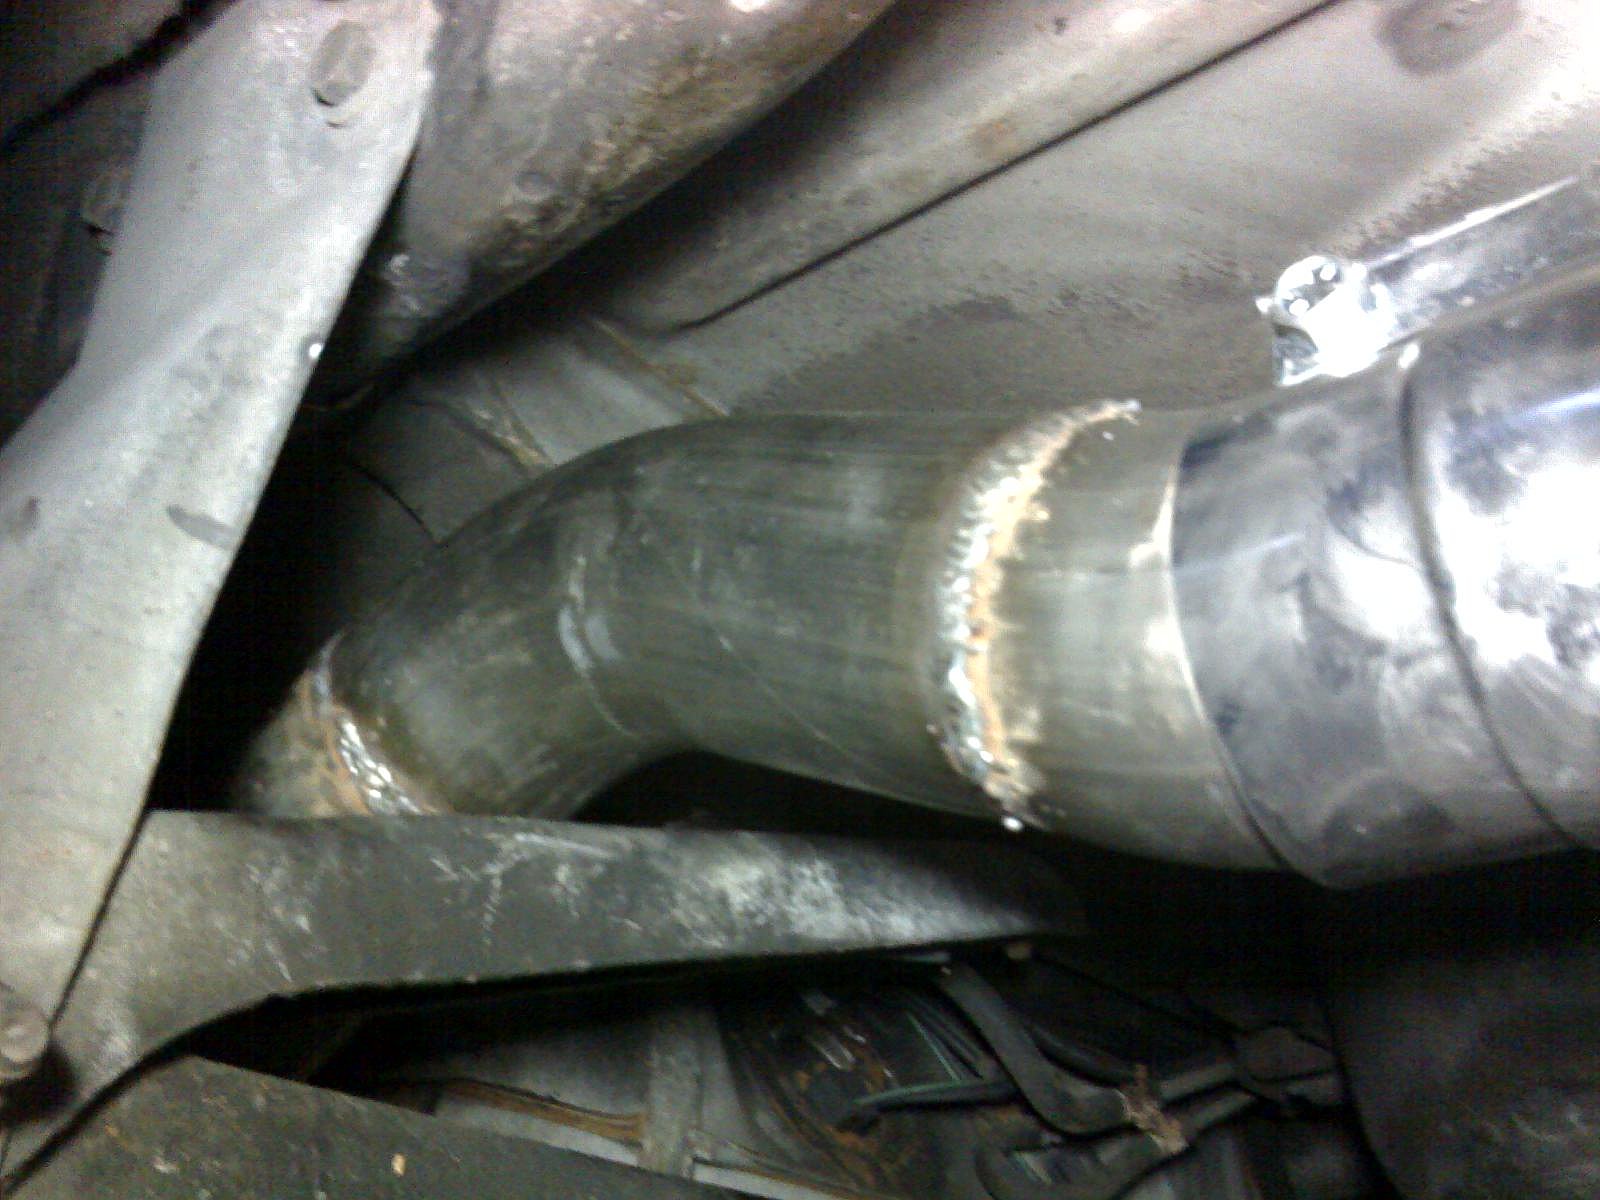
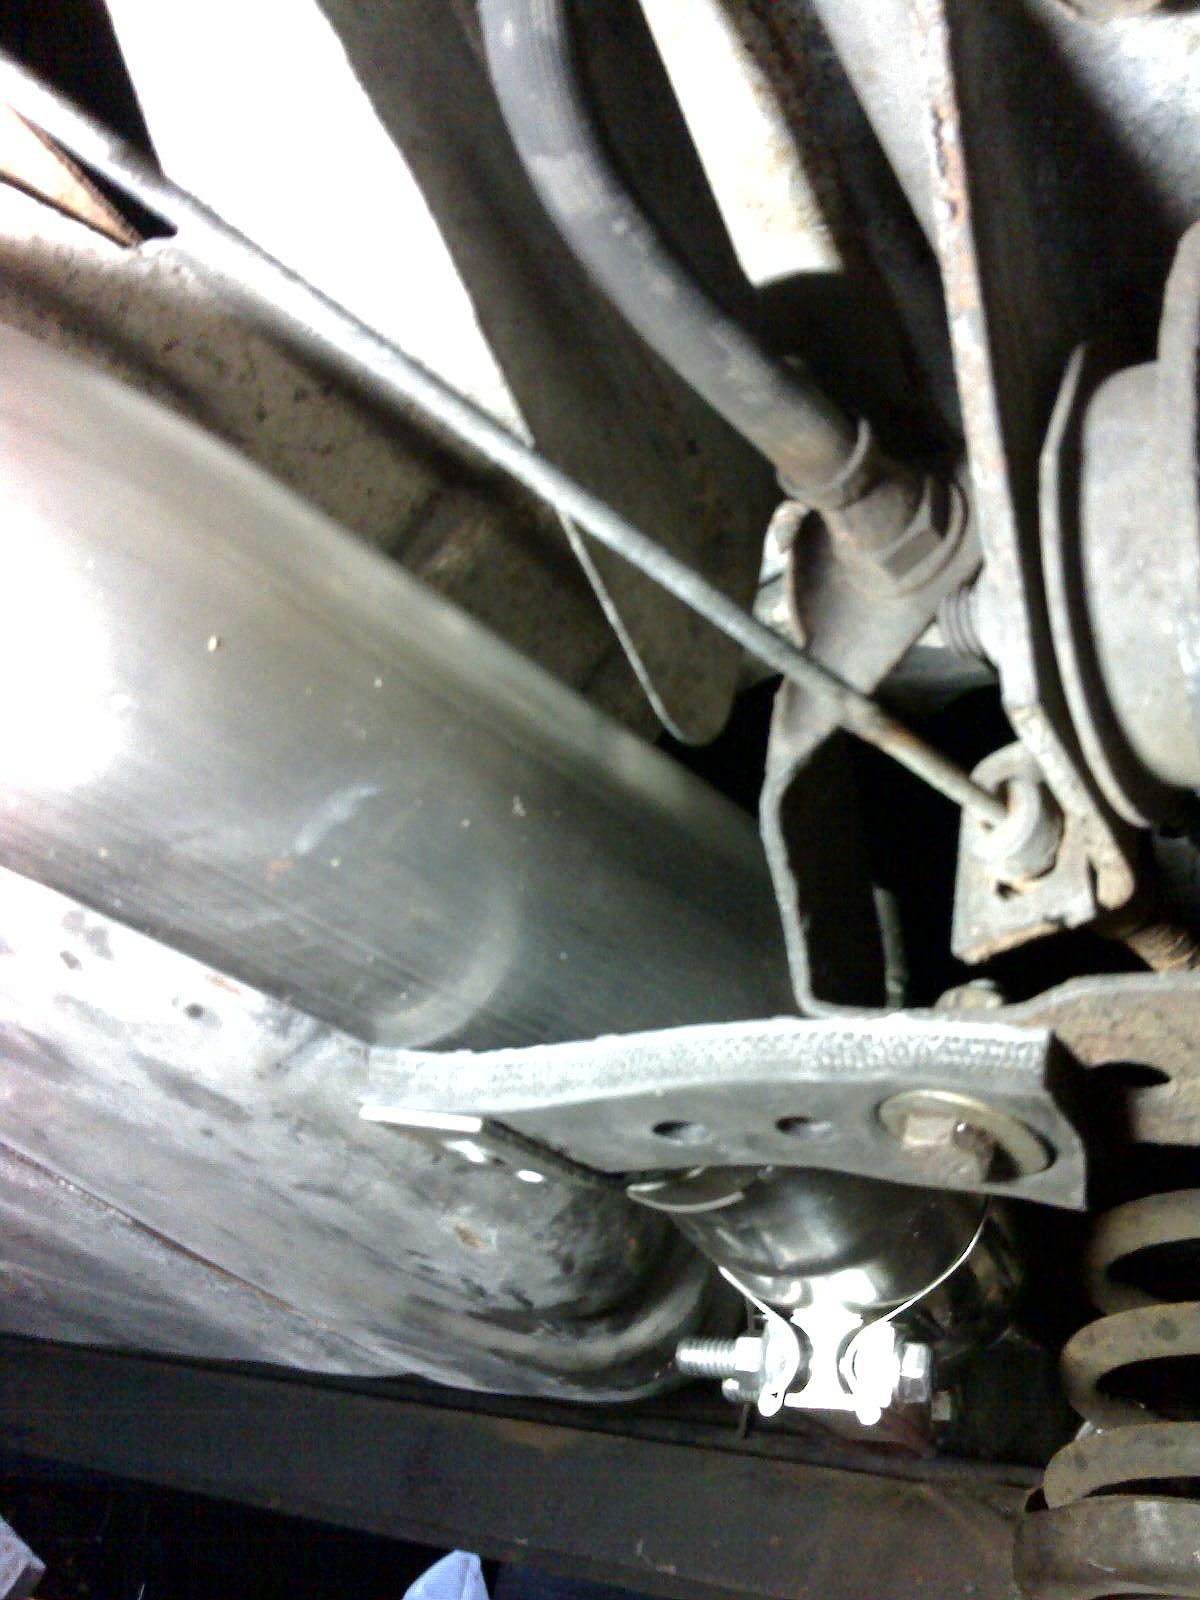
Man, what a chore. It is by no means a drop-in kit. Quite a bit of cutting and welding was required, especially in the area around the axle. My goal was to make a stock-looking exhaust at the tail pipes, so I picked up a Dynomax Super Turbo muffer that has a 3″ inlet and a pair of 2.5″ outlets (p/n 17674). A pair of stainless 2.25″ 45-degree bends from ATP Turbo serve as the tail pipes (using a couple of 2.5″-2.25″ bushings). I was quickly reminded that the early 2.25″ swing valve housing on the turbo will not accept the 3″ downpipe donut, so I dug an old 2.5″ downpipe out of the spiderwebs in the corner and happened to have a 2.5″ ID – 3″ OD adapter. I spent all day Saturday cutting and fitting while trying to clear the spring, fuel tank, and axle. You can see my beautiful welding technique. The setup currently has no cat and man is it loud. I might as well have no muffler at all. I’m going to have to add a straight-through muffer in the cat’s position to quiet it down (I have a Dymomax Ultra Flo p/n 17296 sitting here).
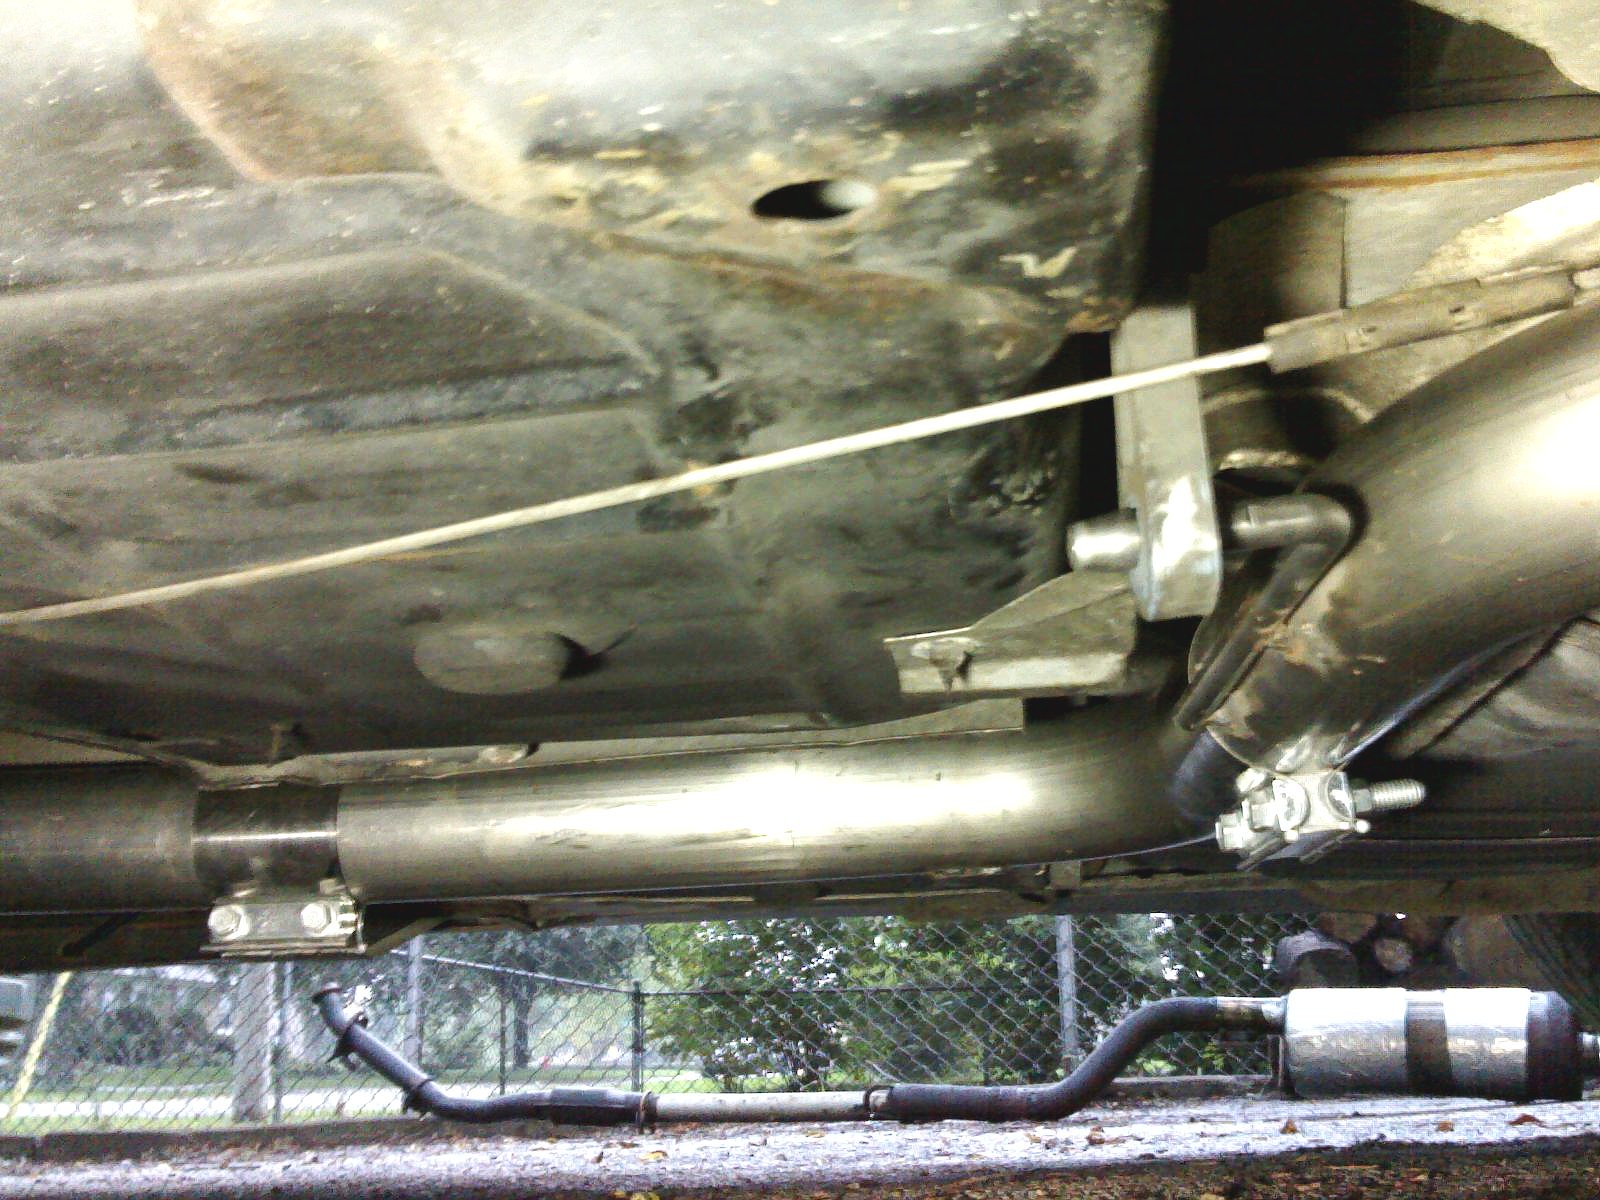
I also added an additional mount on the brake line bracket, which should keep the exhaust from swaying back and forth and hitting the fuel tank and spring. It’s a tight fit back there.
The Daytona: September 15, 2006
by Russ Knize on Sep.15, 2006, under Daytona
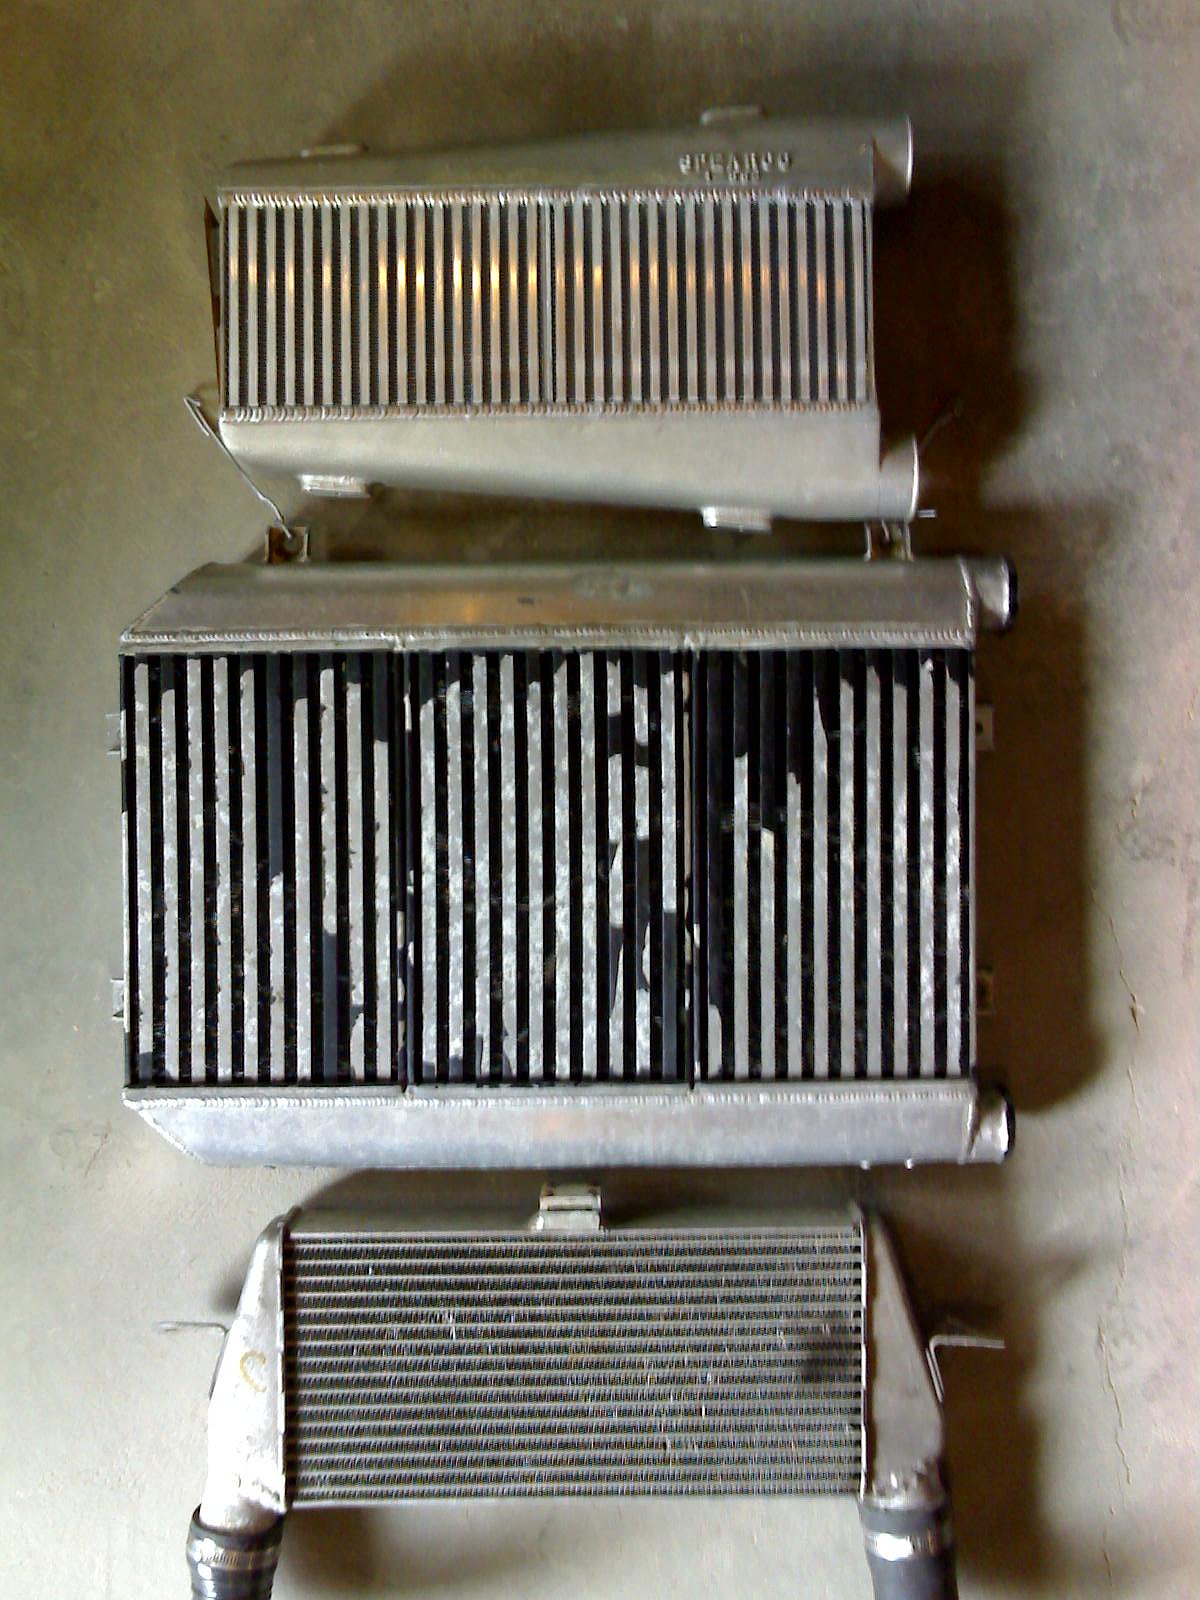
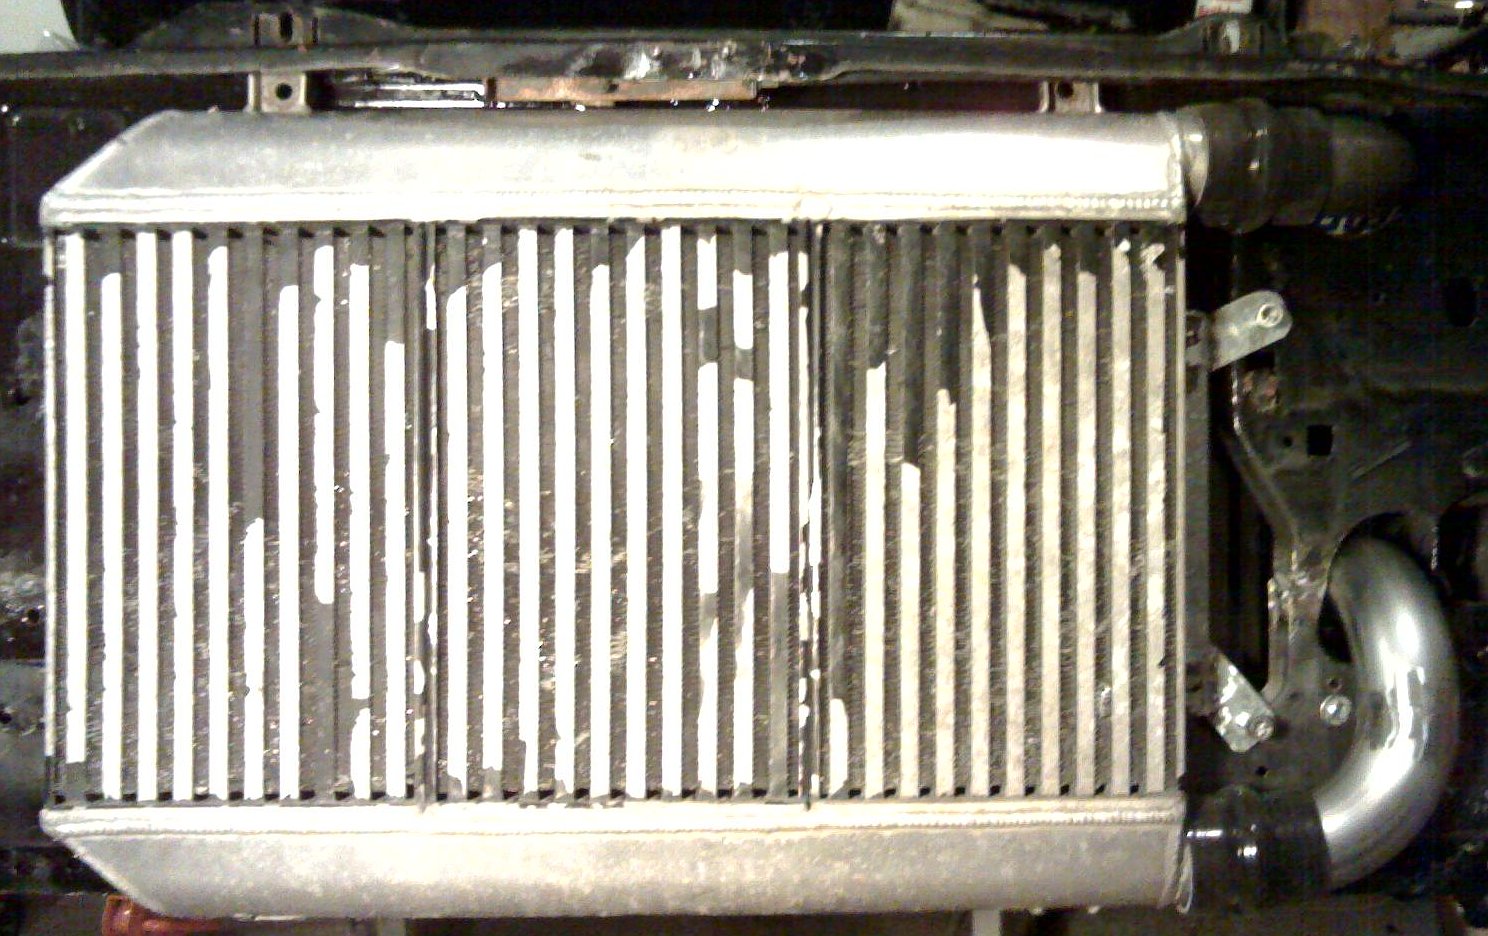
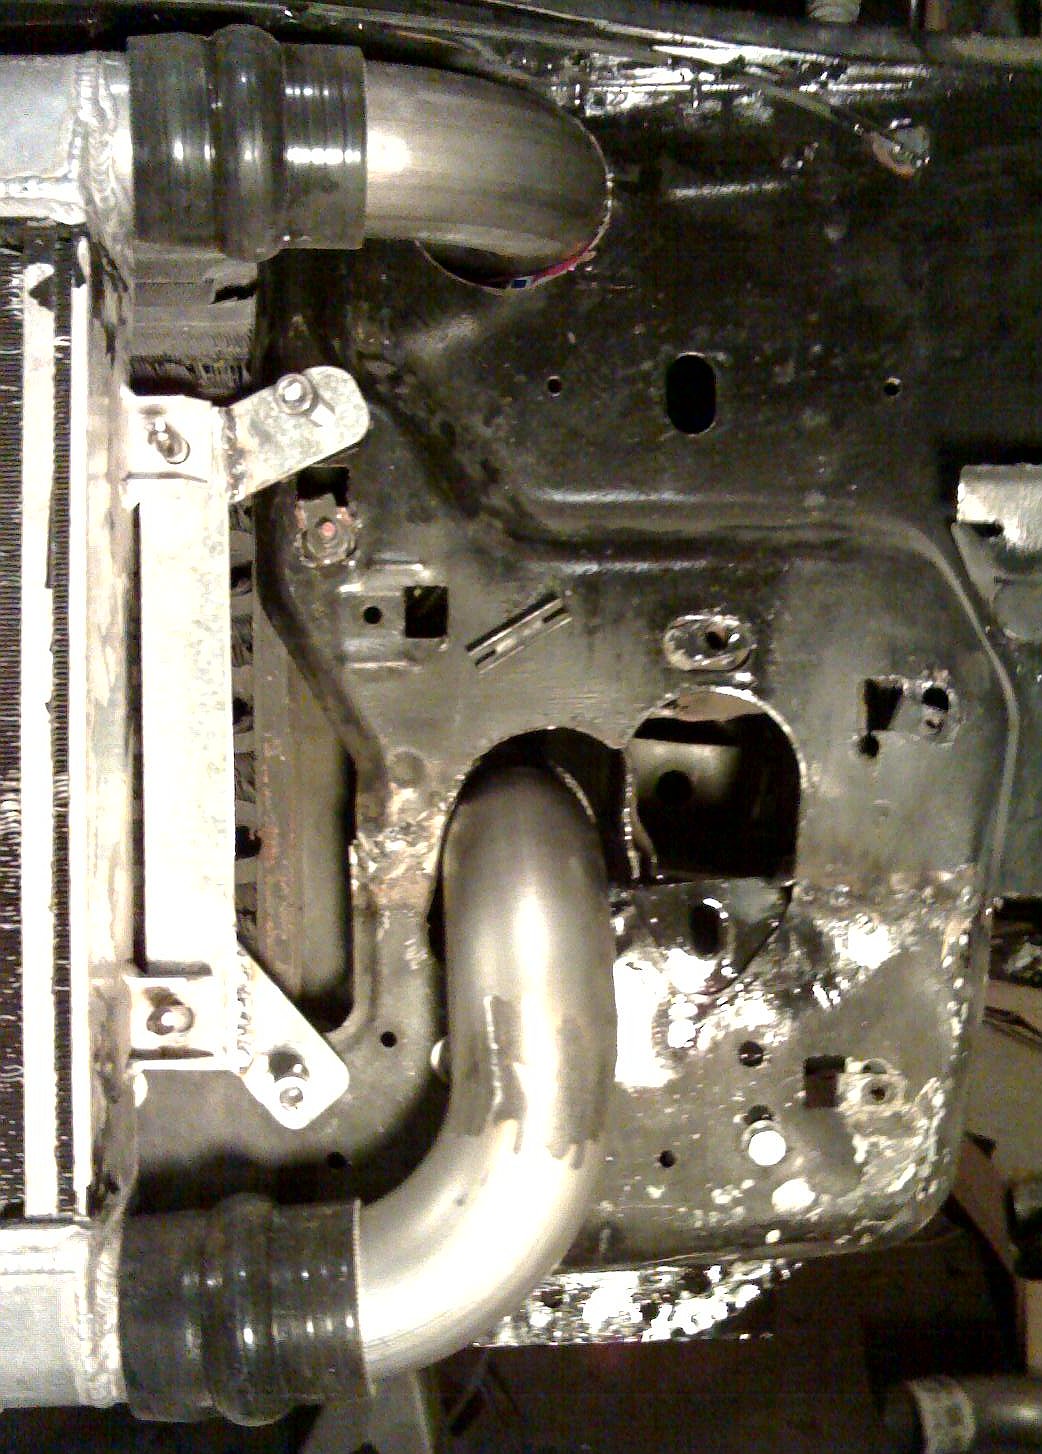
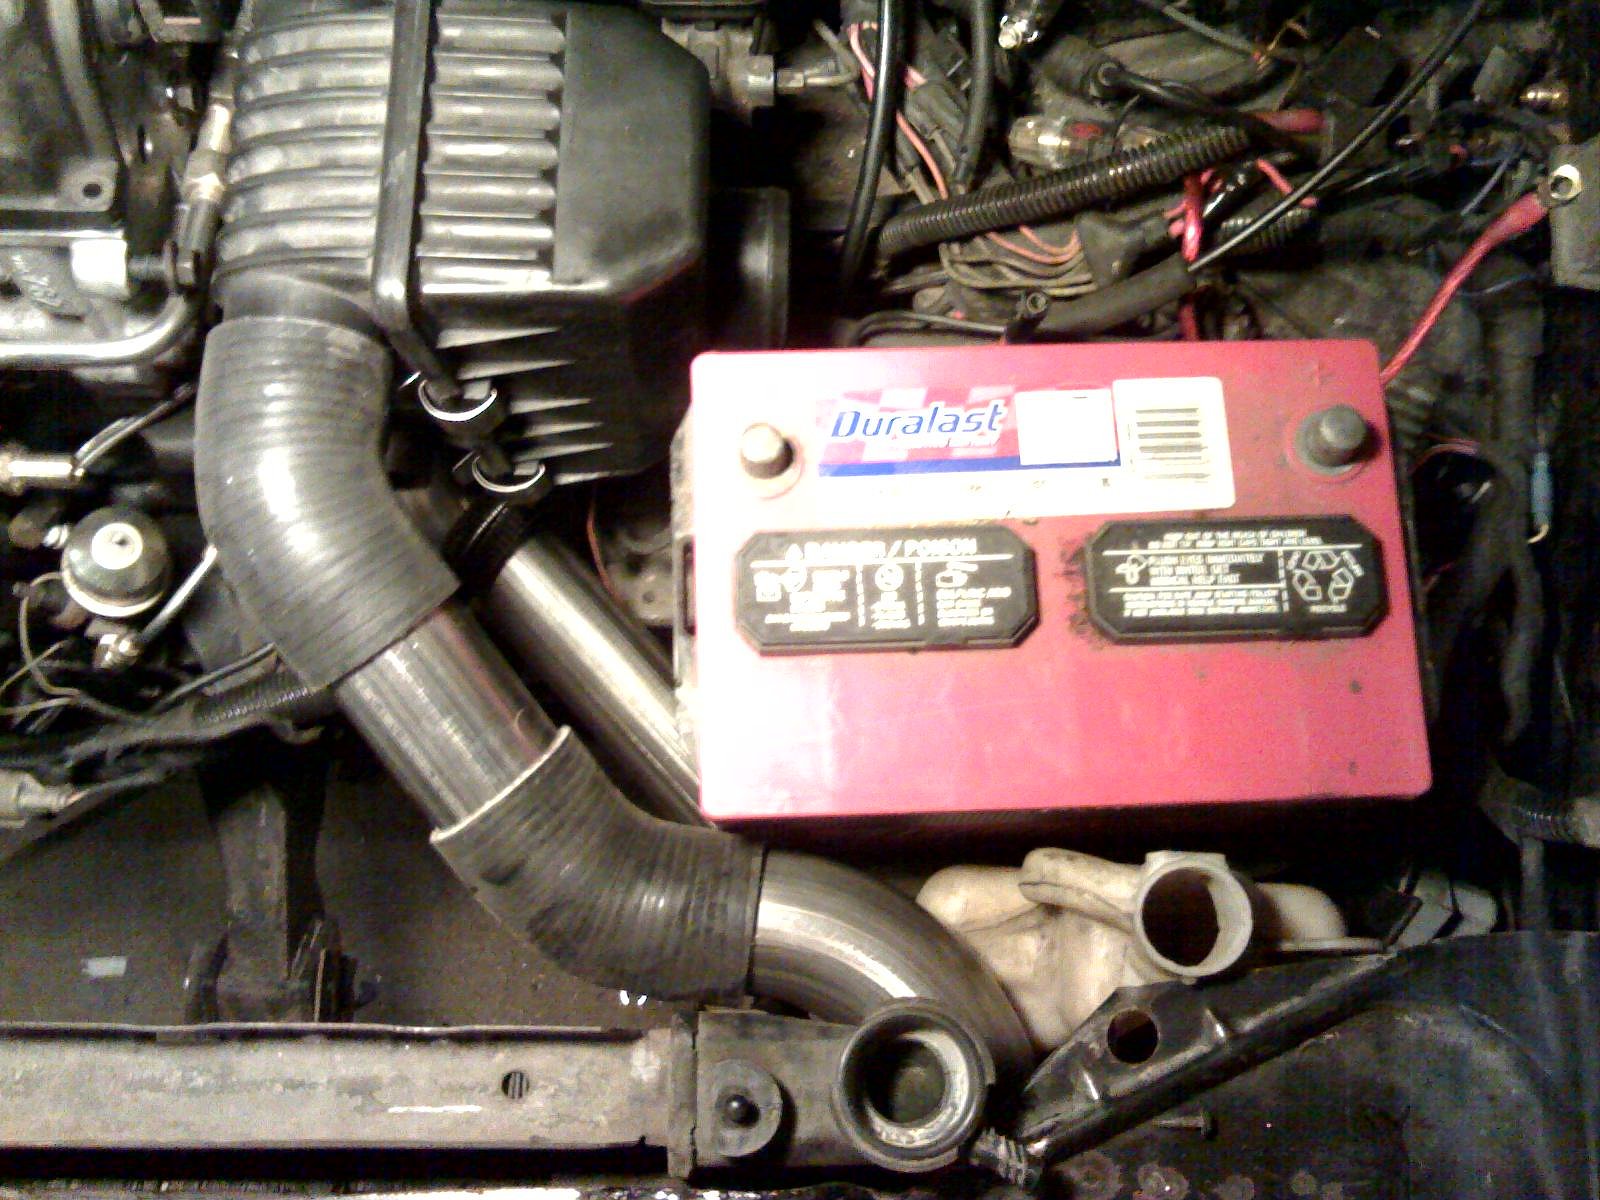
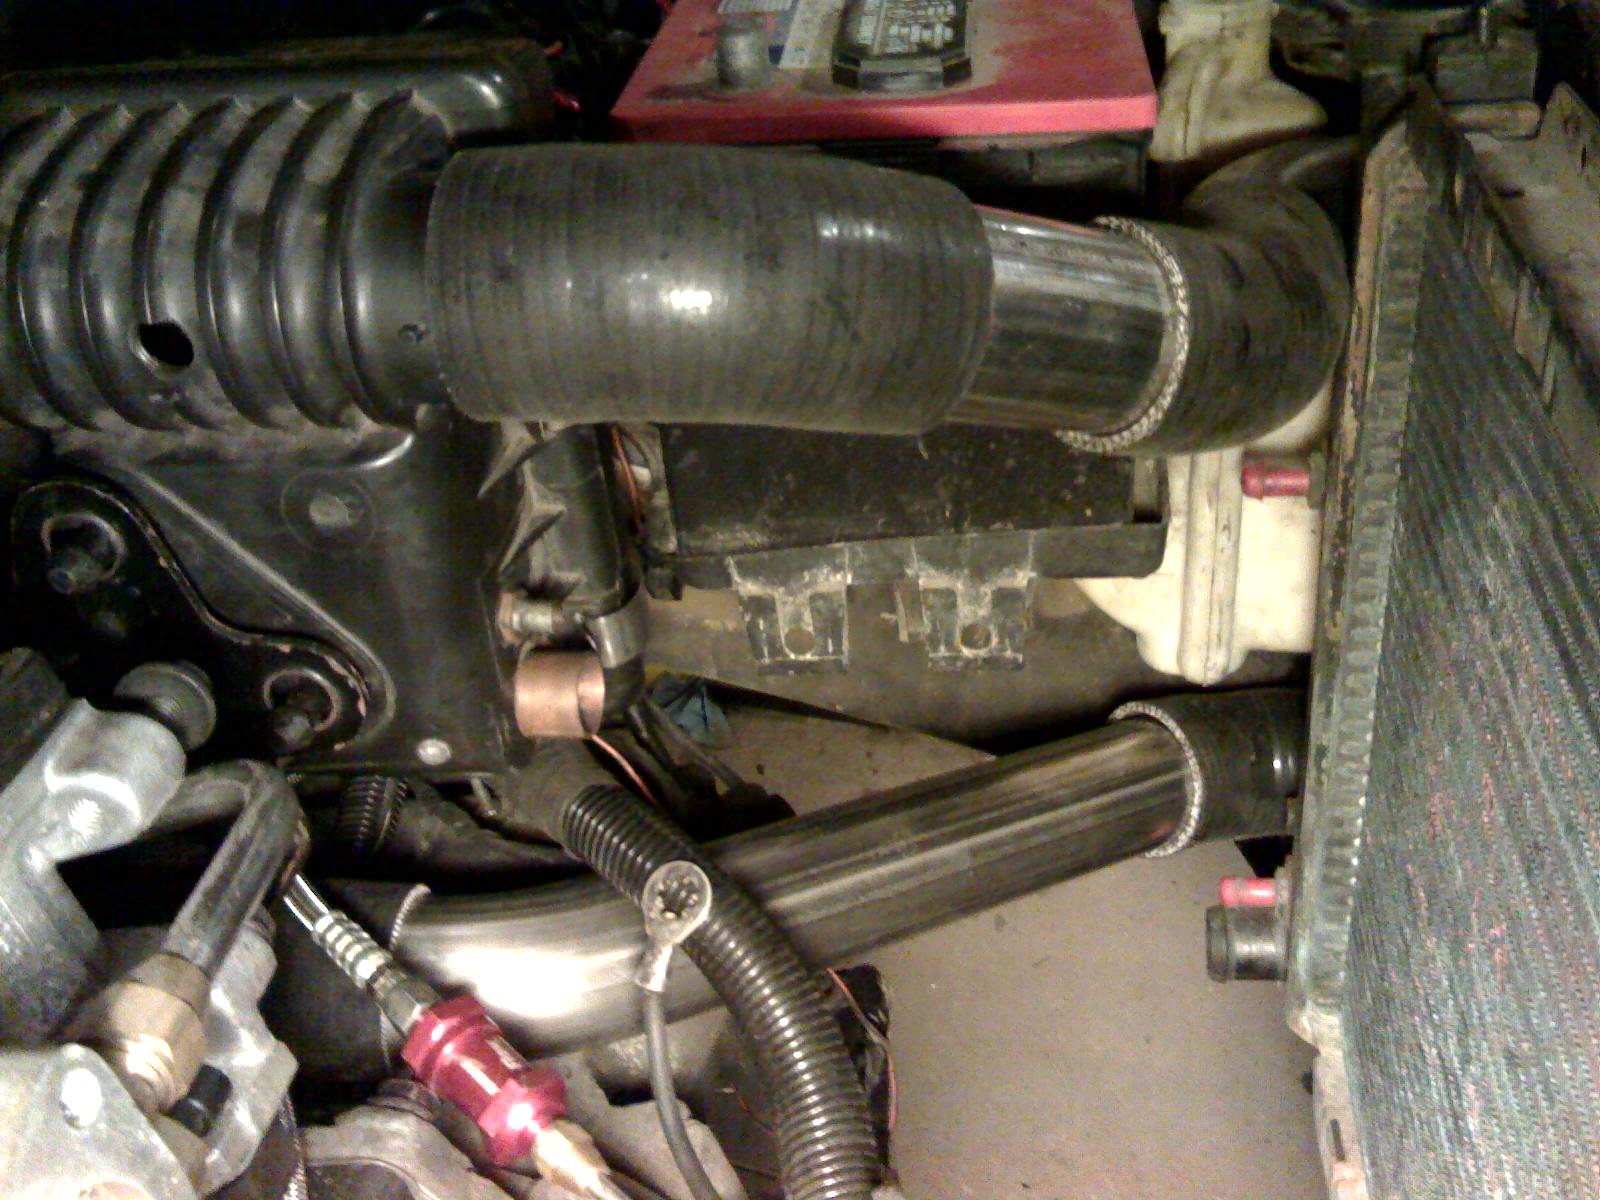
So a while back I picked-up a Relentless Performance “Triple-Core” intercooler (three stock cores welded together in parallel). The photo on the left shows (from the top down) the Spearco “1080” that is sold by a few of the vendors, the RP Triple-Core, and the early Dodge Conquest intercooler that I used in my Shadow for several years. I finally got it and all the plumbing fitted. It just fits behind the early Daytona fascia after some trimming to the plastic structure. I wanted the plumbing to fit without having to move the radiator or the battery. The intercooler pipes are all 2.25″ T304 stainless steel (one U-bend, one U/J-bend, and a 45 degree bend). The silicone couplers are from Silicone Intakes, which is by far the cheapest I have found. I chose 2.25″ pipes because the intercooler and airbox had 2.25″ connections and that was the largest that would squeeze between the battery and the radiator. The only change I had to make was I switched to a P-body coolant overflow tank to give me the gap next to the radiator fill neck.