Tubelab Simple PP – Construction
♦ Back ♦ Description ♦ Construction ♦ Performance ♦ Pictures ♦
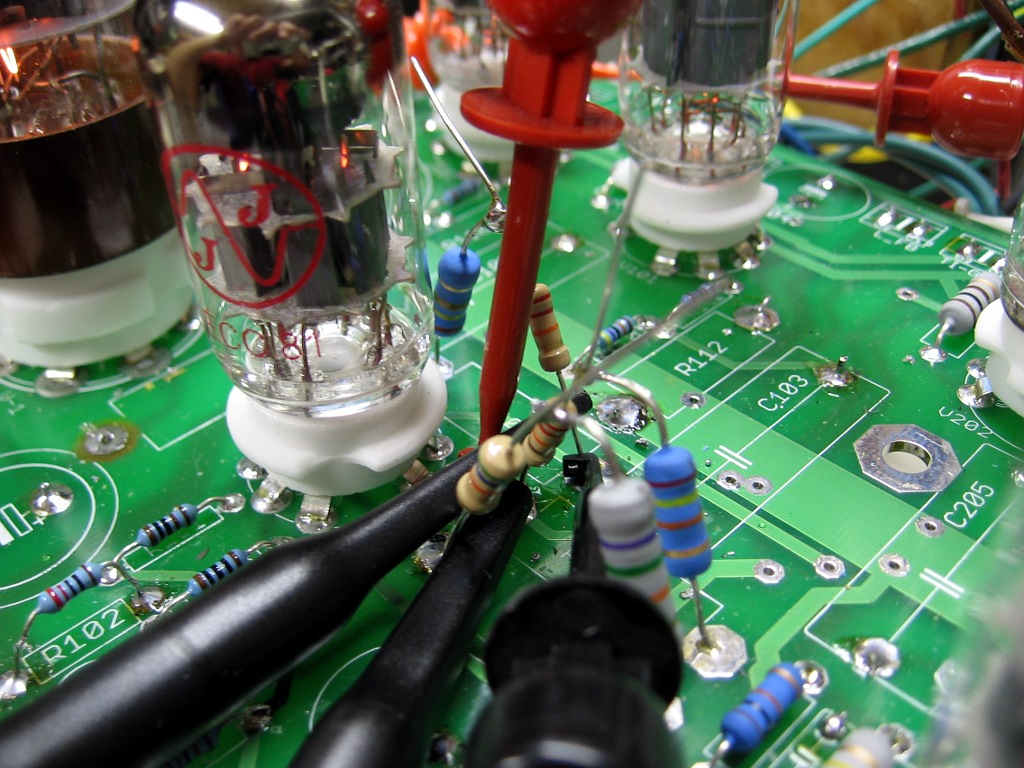
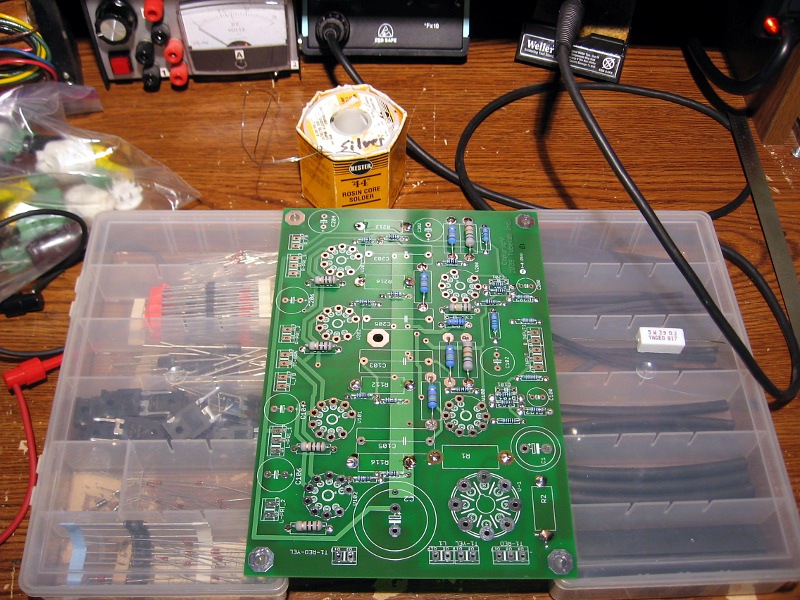 The PCB came together in an hour or two over a couple of nights. Since this was a “beta build”, I tried to follow the build instructions to try to identify any errors or ambiguities. The resistors have two tricky items: R2 and R4 are the same value power resistors, but R2 is 3W and R4 is 2W. The kit comes with precision metal film resistors, which have five stripes and can be a little confusing to read for someone who is not familiar with them. It’s a good exercise in learning color codes, but be sure to double-check yourself if you are not sure. You can even use a multimeter to measure the resistance if you are not sure about the multiplier.
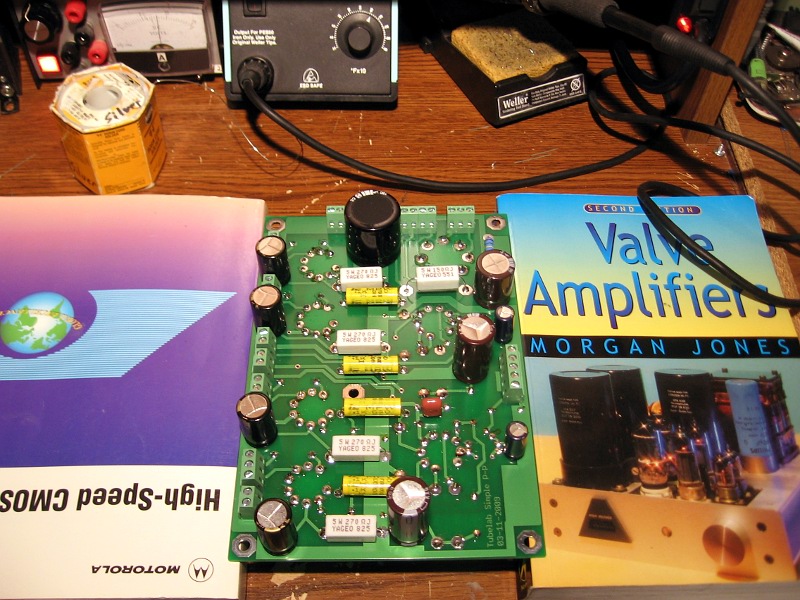 The rest of the PCB went together per the instructions. My build deviated from the parts list some, since it was an early kit made up of parts George had on-hand before he came up with the official parts list. Mostly capacitor values. Though I mounted the small resistors on top, I used the “inverted” assembly procedure for the other components since I assumed I would flush-mount the PCB when building the chassis.
I was a little weary of standing the noval sockets on their toes to align them with the octal socket, per the instructions. The tips barely reached the top surface of the PCB. I opted to seat them fully instead. I remember doing this for the SSE and TSE, but I don’t remember them being so close to the edge. Maybe it’s because I used Belton noval sockets on those?
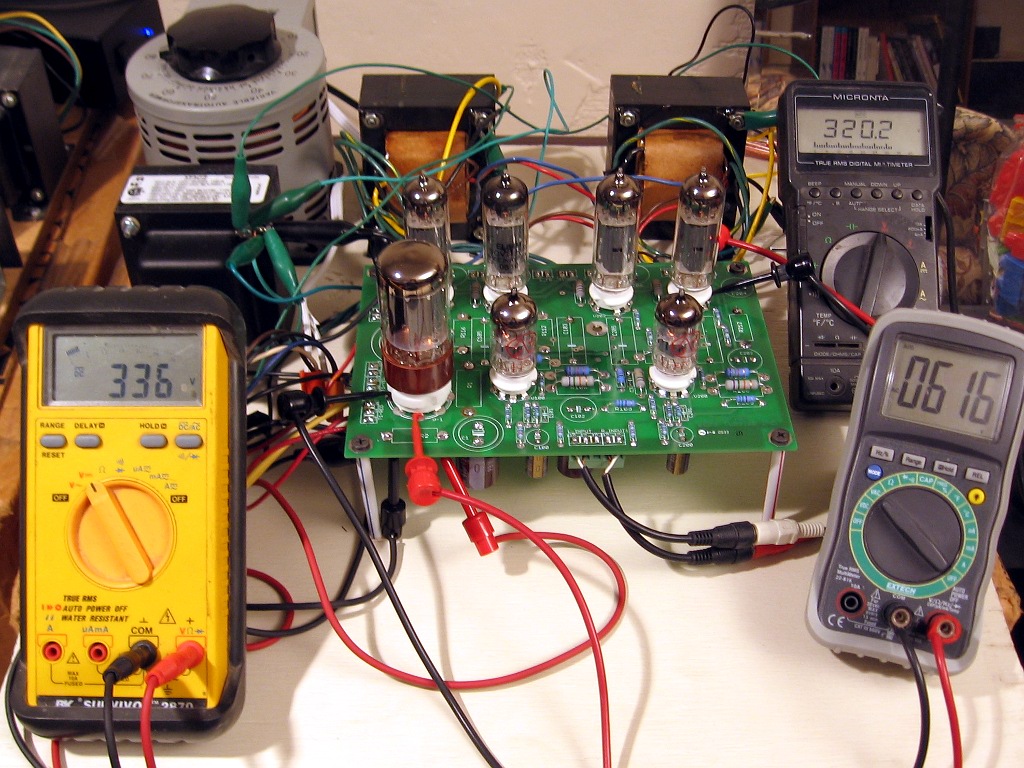 The PCB was tested using a Hammond 373CZ transformer that I had. The output transformers were kindly supplied by George out of his stash (he has a bunch of these). In fact, there are the same transformers he used during development of the amp. Due to a wiring error, the B+ rail was higher than it should have been. The variac in the picture was used to keep the high voltage winding low enough. In the end, this transformer was a good match to get a B+ that is on the high side. The EL84s from JJ seem to handle this in stride, but it’s a bit much for the Sovtek tubes.
 Some issues came up during testing with the phase splitter. Because the plate of the input stage is DC coupled to the grid of the concertina/cathodyne phase splitter, the operating point of the former is critical to the latter. Tubes whose section didn’t bias hot enough for the input stage would not leave enough headroom for the phase splitter. I tried a variety of tubes and found that many of the current production tubes (new and used) did not do well. The only tubes that worked well were Phillips JAN 12AT7s and an NOS RCA 12AT7 that I had. I tried playing with various cathode and plate loads on both the input and phase splitter sections. In the end I found that increasing the input plate loads (R106 and R206) to 150k gave the phase splitter the necessary headroom with any of the tubes I tried.
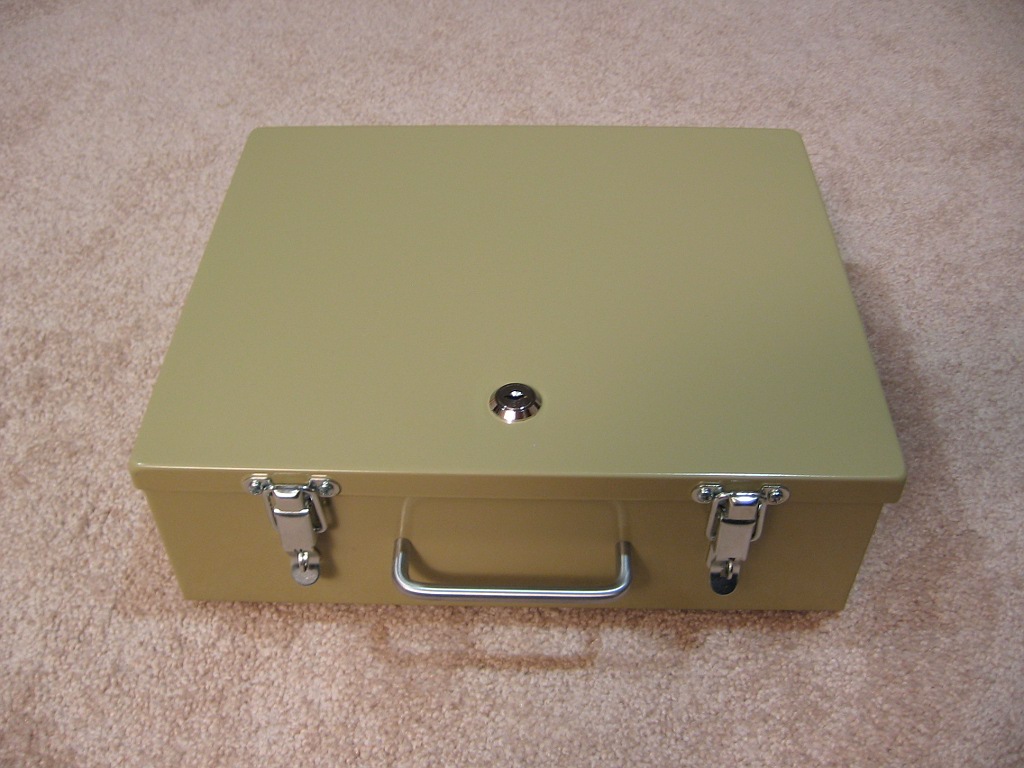
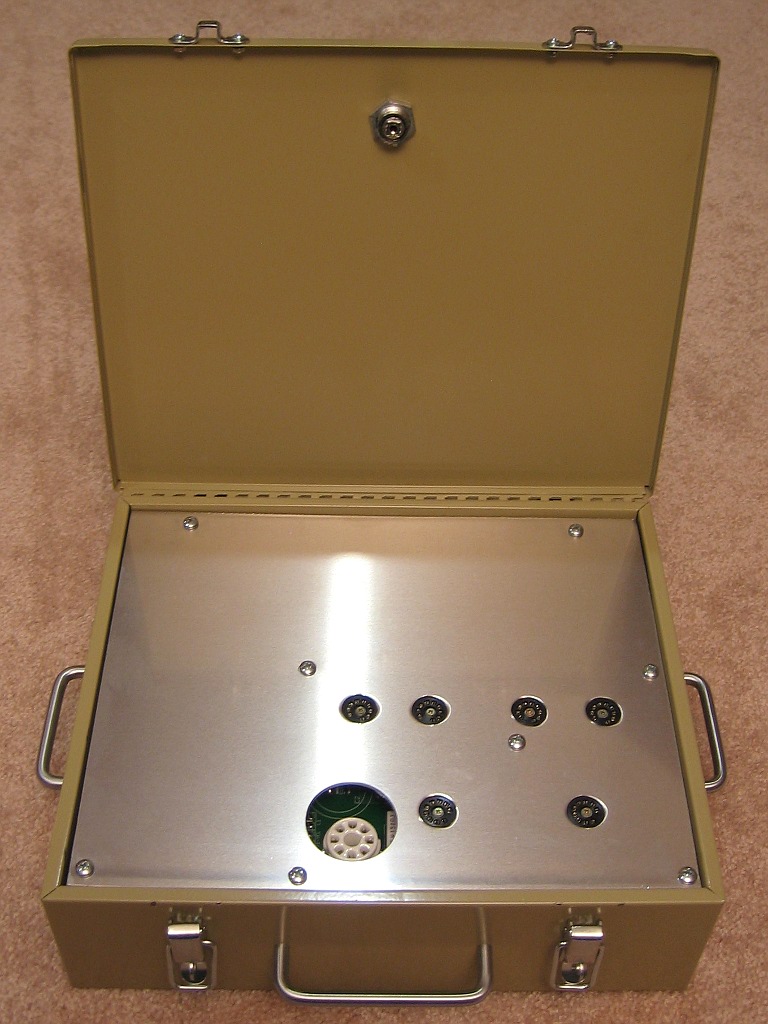 I initially had thoughts of building a chassis similar to the Simple SE. That would mean buying more iron from Edcor and it would also mean lots of cutting and milling and drilling to duplicate that chassis. Lacking that sort of time, I started thinking that it would be nice to have a tube amp in the garage. I wouldn’t want to leave it out there due to the moisture, so something more portable would be good. I had that 12″x10″ Hammond chassis, but it was too tight. I found this lock box that we weren’t really using that seemed to have the right dimensions. After thinking about it some more, I just went for it and started cutting. Had I known this was a double-walled box with fiberglass insulation in between, I would have found something else. I threw this amp together fairly quickly to try to get it done so the fit and finish isn’t the best, but it works.
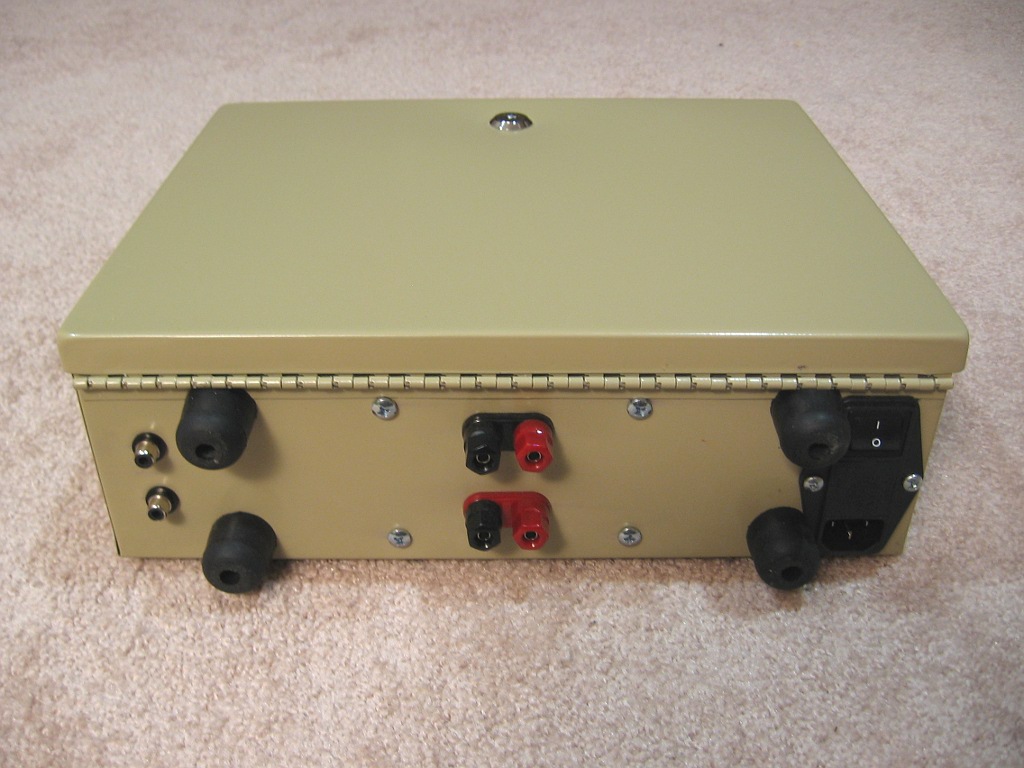
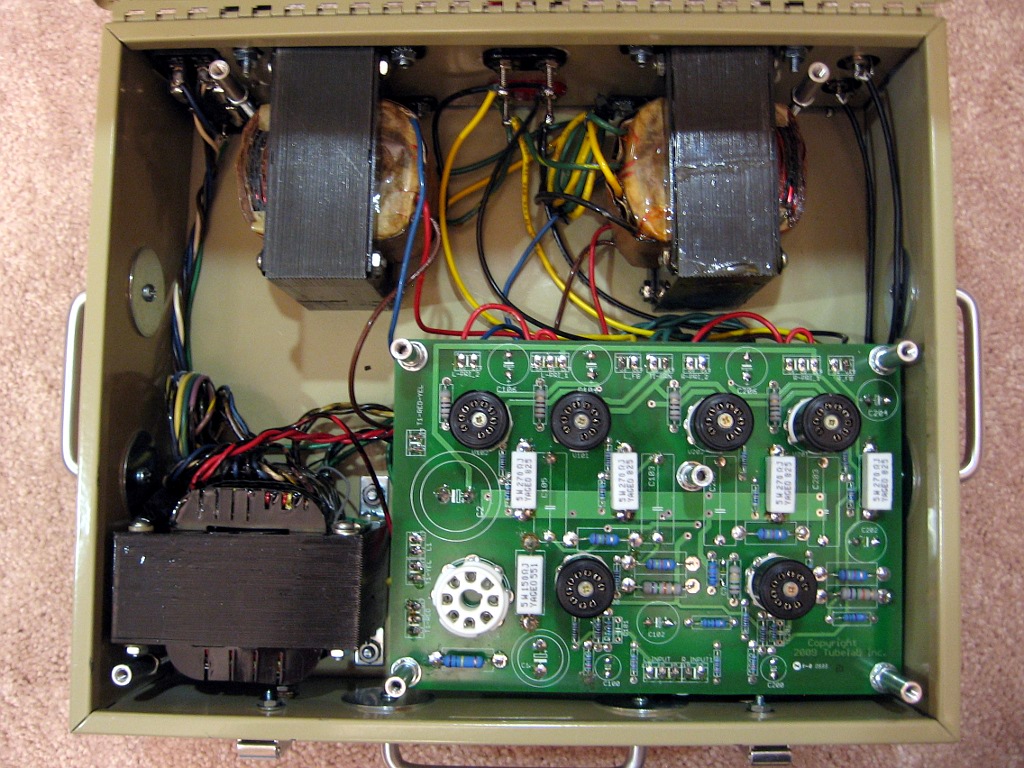 Power is handled by a power entry module, which neatly handles the IEC socket, fuse, and switch. The Hammond 373CZ is meant to be mounted face down, but the laminations on this one are crooked anyway. So the bells were removed to be used for another amp and it and the output transformers were mounted on their sides. The PCB is recessed so that “socket savers” could be used in the noval sockets and mounted flush to the top plate. Right now the only ventilation is through the gap around the recessed rectifier and there is no air inlet. That is likely going to need to change.